How to Fix a Broken Trailer Wire: Step-by-Step Guide
Introduction
A broken trailer wire can cause frustrating electrical issues, from malfunctioning brake lights to signal failures. Whether you're hauling cargo, a boat, or an RV, ensuring your trailer wiring is intact is crucial for safety and compliance.
In this guide, we’ll walk you through diagnosing and repairing broken trailer wires, whether you're a beginner or an experienced DIY enthusiast. By following these steps, you'll restore proper functionality to your trailer in no time.

Understanding Trailer Wiring Systems
Trailers use a standardized wiring system to control brake lights, turn signals, running lights, and sometimes even electric brakes. The most common trailer wiring configurations include:
- 4-Pin Connector: Controls basic functions like tail lights, brake lights, and turn signals.
- 5-Pin Connector: Adds a wire for a trailer brake signal.
- 6-Pin Connector: Supports additional power for trailer accessories.
- 7-Pin Connector: Used for large trailers with electric brakes and auxiliary power needs.
Trailer wires are usually color-coded as follows:
- White – Ground
- Brown – Tail lights
- Yellow – Left turn/brake light
- Green – Right turn/brake light
- Blue – Electric brakes (if applicable)
- Red/Black – Auxiliary power
Understanding your trailer’s wiring setup is the first step toward diagnosing and fixing any issues. Incorrect connections can lead to malfunctioning lights or even electrical hazards, so verifying the wiring diagram for your trailer model is always a good idea. Also checkout our blog about Understanding the Trailer Wiring Color Code.

Tools and Materials Needed
Before you begin, gather these essential tools:
- Multimeter - to test electrical continuity
- Wire stripper and crimper - for clean wire connections
- Heat shrink tubing or electrical tape - for insulation
- Soldering iron or heat gun - for securing connections
- Replacement wire - matching the gauge of your existing trailer wire
- Connector plugs - for repairing damaged connectors
- Zip ties and cable clamps - for securing wires to prevent future damage
- Dielectric grease - to protect electrical connections from corrosion
Using the right tools ensures a clean and professional repair, reducing the chances of issues recurring in the future. For high-quality replacement wiring, consider using high quality CCA wire. Using premium wire ensures durability and long-lasting performance, especially for trailers exposed to harsh conditions.

Step-by-Step Guide to Fixing a Broken Trailer Wire
Step 1: Inspect the Wiring for Damage
- Visual Inspection: Look for exposed, frayed, or corroded wires.
- Check Connections: Ensure all connectors are firmly attached.
- Use a Multimeter: Test for continuity in each wire to identify breaks or faults.
A thorough inspection helps pinpoint problem areas before you begin repairs, saving time and effort.
Step 2: Identify and Isolate the Broken Wire
- Disconnect the trailer plug from the towing vehicle.
- Trace the faulty wire from the plug to the affected light or component.
- Mark the damaged section using tape or a marker for easy identification.
If multiple wires are damaged, it may be more efficient to replace the entire wiring harness rather than patching individual sections.
Step 3: Cut Out the Damaged Section
- Use wire cutters to remove the damaged portion of the wire.
- Strip about ½ inch of insulation from both ends of the remaining wire.
Cutting out all corroded or frayed sections prevents future failures and ensures a strong connection.
Step 4: Splice in a Replacement Wire
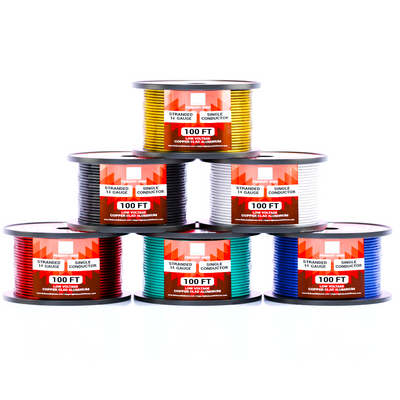
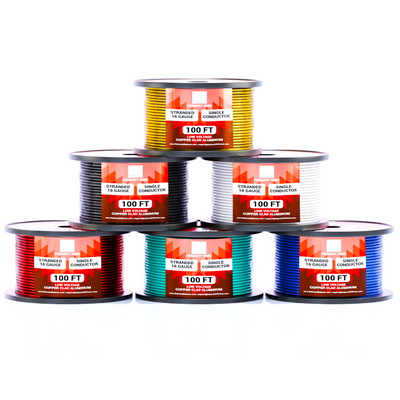
- Choose the correct wire gauge (typically 12 GA wire to 16 GA wire depending on the load).
- Use crimp connectors or solder the wires together for a strong connection.
- Cover the splice with heat shrink tubing or electrical tape to prevent moisture damage.
If you’re unsure about the correct gauge, refer to our blog about How to choose the right wire gauge for trailer wiring. Using a wire that is too thin can lead to overheating and voltage drop.
Step 5: Test the Connection
- Reconnect the trailer plug to the towing vehicle.
- Turn on the lights and signals to ensure everything functions correctly.
- Use a multimeter to confirm proper voltage and grounding.
Testing before securing the wiring ensures you don’t have to redo any steps if an issue remains.
Step 6: Secure and Protect the Wiring
- Use zip ties and clamps to fasten the wires along the trailer frame.
- Apply dielectric grease to connectors to prevent corrosion.
- Ensure wires are not rubbing against sharp edges that could cause future wear.
Properly securing the wiring prevents future damage from road vibrations, weather exposure, and wear.

Common Mistakes to Avoid
Many DIYers encounter these common issues when repairing trailer wiring:
- Using incorrect wire gauge: Always match the replacement wire to the existing one to prevent voltage drop.
- Poor insulation: Failing to seal connections properly can lead to moisture damage and corrosion.
- Skipping a multimeter test: Testing each wire before and after repair prevents unnecessary rework.
- Ignoring ground connections: A weak or missing ground wire is a frequent cause of trailer wiring malfunctions.
- Not securing wires properly: Loose or dangling wires can get caught in moving parts or be damaged by road debris.

Expert Tips for Long-Lasting Repairs
- Upgrade to marine-grade wiring for added durability, especially if your trailer is frequently exposed to moisture.
- Use a junction box to organize wiring and make future repairs easier.
- Label wires to simplify troubleshooting down the line.
- Inspect wiring regularly to catch small issues before they turn into major problems.
- Apply liquid electrical tape for extra waterproofing in high-exposure areas.
Taking these extra precautions ensures your trailer wiring remains functional for years to come, minimizing future maintenance. Also visit our blogs about Essential Tips for Efficient Trailer Wire Management.
Final Thoughts: Share Your Experience
Fixing a broken trailer wire is a straightforward but essential skill for any trailer owner. Whether you're dealing with minor wear or a full wiring replacement, following these steps ensures a safe and long-lasting repair.
A well-maintained wiring system not only improves safety on the road but also prevents unexpected breakdowns, saving you time and frustration in the long run. Investing in high-quality materials and proper installation techniques will keep your trailer in top shape.
Have you ever repaired trailer wiring before? Share your experience, tips, or questions in the comments below. Let’s build a community of DIY trailer owners helping each other out!