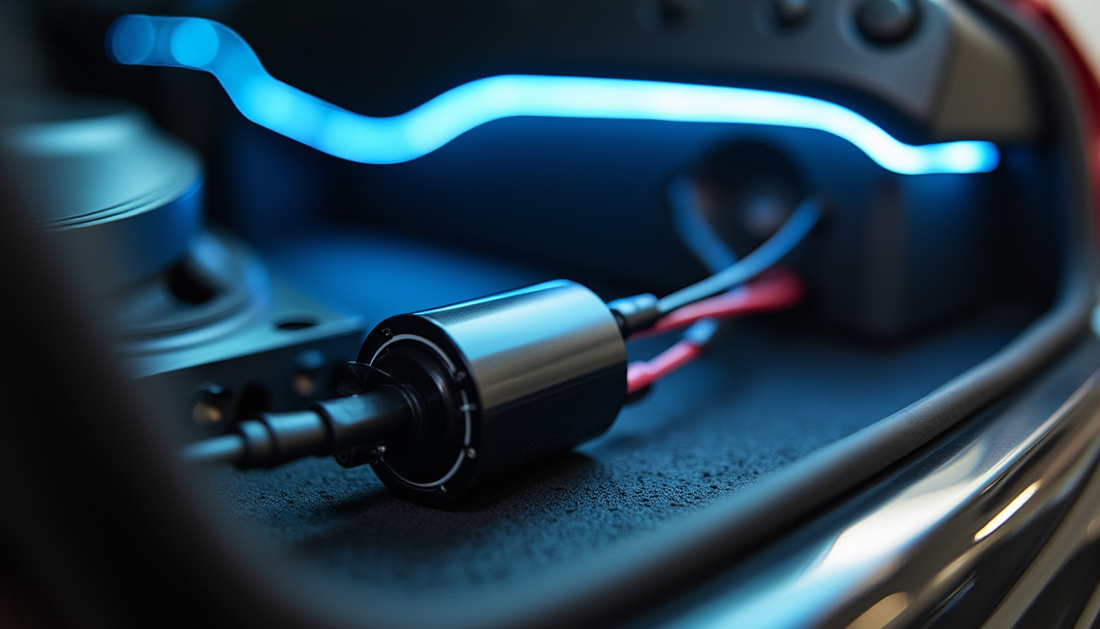
How to Wire a Capacitor for Your Car Audio System
Share
Introduction
Capacitors play a key role in car audio systems, especially when dealing with high-power amplifiers. They help smooth out power fluctuations by storing energy and releasing it when needed, ensuring that your amplifiers and subwoofers have a consistent power supply. Properly wiring a capacitor can improve performance, protect your battery from strain, and prevent dimming headlights during bass-heavy tracks. In this guide, we’ll walk through the importance of capacitors and how to wire one into your car audio system effectively.
You might also find these blogs helpful:
How to replace car speaker wires.
How to prevent noise interference.
How to upgrade factory speaker wires.
Why Add a Capacitor to Your Car Audio System?
When playing music with heavy bass, amplifiers can demand a lot of power, and sometimes your car’s electrical system isn’t able to provide it all at once. This is especially true when you’re using powerful subwoofers. If your car’s electrical system can’t keep up, it can lead to power dips, causing your headlights to dim, your battery to drain faster, or even performance issues with your amplifier.
A capacitor helps manage these power demands by storing electrical energy and releasing it quickly when the amplifier needs more power. This can protect your electrical system and improve the sound quality of your car audio system, especially during bass peaks.

Step-by-Step Guide to Wiring a Capacitor
Wiring a capacitor into your car audio system isn’t complicated, but it’s important to get it right for optimal performance and safety. Here’s a step-by-step guide:
1. Choose the Right Capacitor
Before you begin, make sure you’re using the correct capacitor for your setup. Capacitors are rated in farads, and the general rule is that you need 1 farad of capacitance for every 1,000 watts of amplifier power. For example, if you’re running a 2,000-watt amplifier, you should use a 2-farad capacitor.
2. Disconnect the Car Battery
Safety first! Always disconnect the negative terminal of your car battery before working on your audio system. This prevents any accidental shorts or damage to your car’s electrical system.
3. Find a Mounting Location
Capacitors should be installed as close to the amplifier as possible. This ensures that the power stored in the capacitor can quickly reach the amplifier when needed. Look for a secure and stable location to mount the capacitor, such as near the amplifier or subwoofer box.
4. Charge the Capacitor
Capacitors need to be charged before connecting them to the audio system. Use a resistor or a charging bulb to slowly charge the capacitor, preventing damage. Here’s how to do it:
- Connect the resistor or bulb to the capacitor's positive terminal.
- Connect the capacitor’s ground terminal to your vehicle’s chassis ground.
- Allow the capacitor to charge until the voltage matches the car's battery voltage (usually around 12V to 14V).
- Remove the resistor or bulb once the capacitor is fully charged.
5. Wire the Capacitor to the Amplifier
- Connect the Positive Terminal: Run a power cable from the capacitor’s positive terminal to the amplifier’s positive power input. Use the same gauge wire that you’re using for the amplifier's power connection, typically 4-gauge or 8-gauge wire for high-power systems.
- Connect the Negative Terminal: Connect the capacitor’s negative terminal to the vehicle’s chassis or another suitable ground point. It’s crucial that you use a strong, reliable ground connection to ensure the capacitor functions correctly.
6. Reconnect the Battery
After everything is wired and the capacitor is in place, you can reconnect the negative terminal of your car battery. Once reconnected, your system should now have improved performance, particularly when handling power-hungry bass hits.
7. Test the System
Turn on your audio system and test it out. Play some bass-heavy music and see if the capacitor is smoothing out power fluctuations. If you notice that the lights are no longer dimming and the bass sounds more powerful, your capacitor is doing its job!

Common Mistakes to Avoid When Wiring a Capacitor
- Skipping the Charging Step: Never skip the step of charging your capacitor before connecting it to the system. Failing to do this can result in a dangerous power surge, potentially damaging the capacitor and other components of your system.
- Using the Wrong Gauge Wire: The wire gauge used between the capacitor and the amplifier must match the power wire used for the amplifier itself. If the wire is too thin, it can’t deliver the required power efficiently.
- Improper Grounding: A weak or improper ground connection can render the capacitor ineffective or cause electrical noise in your system. Always ensure you have a solid, bare-metal ground connection.
Does a Capacitor Improve Sound Quality?
A capacitor's main role is to stabilize power delivery, which indirectly improves sound quality, especially for subwoofers. By providing extra energy during power-demanding bass hits, a capacitor ensures your amplifier gets enough power without straining your car's battery. This results in more consistent bass output and prevents voltage drops that could affect overall sound performance.
However, it’s important to note that capacitors are not a replacement for an upgraded electrical system. If your alternator or battery cannot keep up with the power demands of your audio system, adding a capacitor won’t solve the problem. In these cases, you may need to upgrade your alternator, battery, or use a secondary battery.

Conclusion
Wiring a capacitor into your car audio system can prevent power fluctuations, improve bass performance, and protect your car’s electrical system from strain. Following proper wiring techniques and choosing the right capacitor size is crucial for ensuring your system runs smoothly. Remember to always charge the capacitor before installation, use appropriate wire gauges, and ground the capacitor properly for the best results.
By wiring your capacitor correctly, you’ll enjoy more powerful and consistent sound from your car audio system, especially during those bass-heavy moments!


