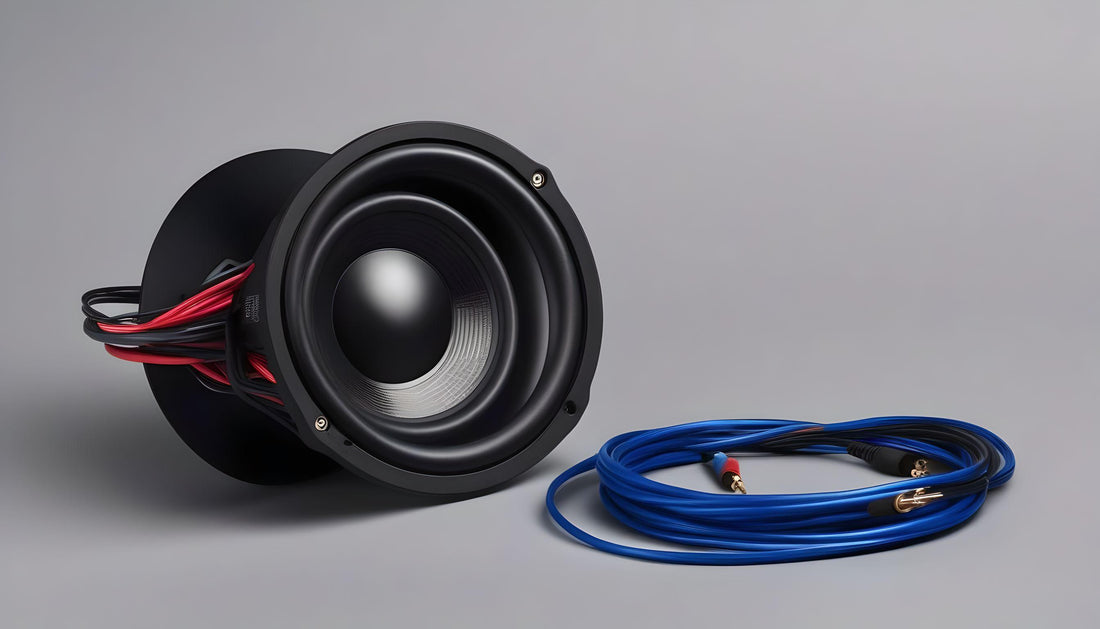
How to Upgrade Factory Speaker Wires for Enhanced Audio Clarity
Share
Introduction
Upgrading factory speaker wires is a key step to unlocking the full potential of your car audio system. Factory-installed wires are often made with thinner, lower-quality materials that can limit sound quality. By upgrading to higher-quality wires, you can achieve clearer sound, improved bass response, and overall better audio performance.
Why Upgrade Your Factory Speaker Wires?
Factory speaker wires are typically designed to meet basic requirements, but they may not be optimized for delivering high-quality audio. If you’ve upgraded your speakers or amplifier, but haven’t changed the wiring, you might not be getting the best possible sound. Upgrading your speaker wires can make a noticeable difference in audio clarity and overall sound quality.

Step 1: Assessing Your Current Wiring
Before you begin, it’s important to understand the limitations of your current wiring:
Gauge of the Wires: Factory speaker wires are often thin which can lead to signal loss, especially over longer distances, resulting in a loss of clarity and definition in the sound.Quality of the Materials: Factory wires are typically made from lower-quality copper or even aluminum. These materials can corrode over time, further degrading the audio signal.
Step 2: Choosing the Right Upgrade
When selecting new speaker wires, consider the following:
Wire Gauge (GA): For most car audio systems, 16 GA or 14 GA wires are recommended. Thicker wires reduce resistance, allowing more of the audio signal to reach the speakers, which results in clearer sound.Material: Opt for high-quality copper or Copper-Clad Aluminum (CCA) wires. CCA wires offer a good balance between performance and cost, providing better conductivity than factory aluminum wires.
Length: Measure the distance between your amplifier and speakers. Choose wires that are long enough to reach without excess, as unnecessary length can add resistance.

Step 3: Preparing for Installation
Before installing new wires, gather the necessary tools:
- Speaker Wire (16 GA or 14 GA)
- Wire Cutters and Strippers
- Crimp Connectors or Soldering Iron and Solder
- Heat Shrink Tubing or Electrical Tape
- Cable Ties
- Multimeter (for testing continuity)
Step 4: Removing the Old Wires
To remove the factory wires:
Access the Speakers: Remove the door panels or other coverings to access the speakers. This might involve removing screws, clips, or panels.Disconnect the Wires: Carefully disconnect the factory wires from the speakers and the amplifier or head unit.
Remove the Old Wires: Trace the factory wires back to their source and remove them. Be careful not to damage any other components during removal.

Step 5: Installing the New Wires
Install the new speaker wires as follows:
Cut and Strip the Wires: Cut the new wires to the appropriate length and strip the insulation from the ends. Expose just enough wire to make a solid connection.Connect the Wires: Attach the wires to the speaker terminals and the amplifier or head unit. Use crimp connectors or solder the connections for a secure and reliable connection. Make sure to match the polarity (positive to positive, negative to negative) to avoid phase issues.
Insulate the Connections: Use heat shrink tubing or electrical tape to insulate the connections, protecting them from moisture and corrosion.
Step 6: Securing the Wires
After installing the new wires:
Route the Wires: Run the wires along the same path as the factory wires, keeping them away from moving parts and heat sources. Use cable ties to secure them in place.Test the System: Before reassembling the panels, test the audio system. Use a multimeter to check continuity and ensure the connections are solid.

Step 7: Reassembling and Final Testing
Once the new wires are installed and tested:
Reassemble the Panels: Replace any panels, screws, or clips that were removed to access the speakers.Final Audio Test: Play a variety of audio tracks to ensure the system is working correctly and that the sound quality has improved. Listen for clarity, bass response, and overall sound quality.
Conclusion
Upgrading your factory speaker wires is a relatively simple yet highly effective way to improve the audio quality of your car's sound system. By choosing the right materials and following proper installation techniques, you can enjoy clearer, more detailed sound and get the most out of your upgraded speakers. Whether you’re an audiophile or just want better sound during your daily commute, investing in high-quality speaker wires is a worthwhile upgrade.


