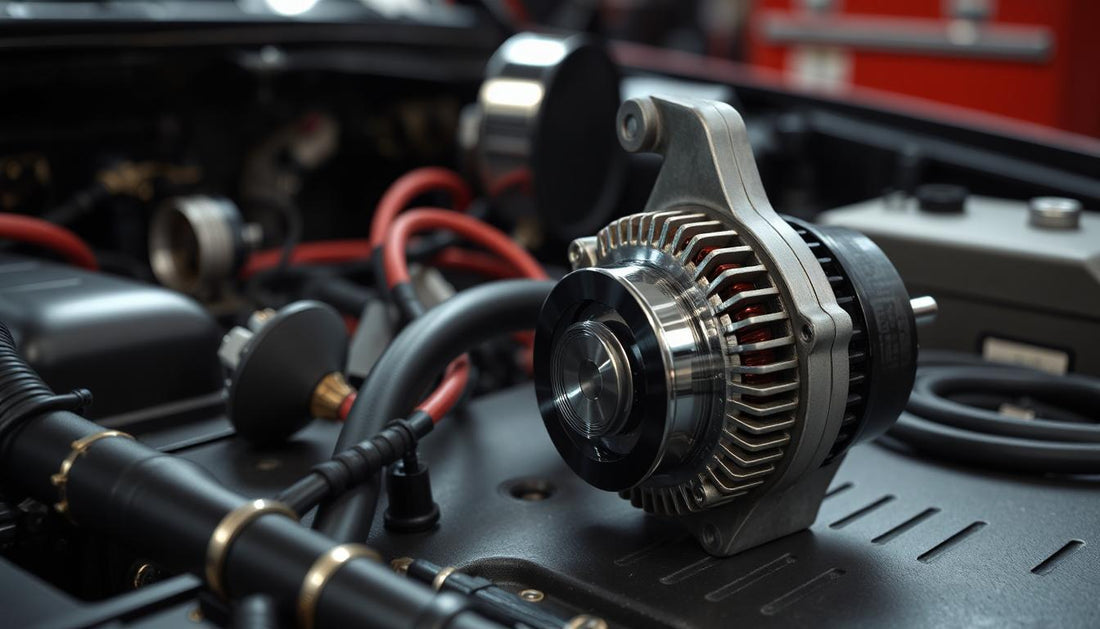
How to Safely Wire High-Output Alternators for Powerful Audio Systems
Share
Introduction
In the world of powerful car audio systems, one critical component often overlooked is the alternator. Stock alternators are designed to handle the basic electronic needs of a vehicle, not the intense demands of high-performance audio setups pulling massive amounts of current. Installing a high-output alternator is essential for preventing voltage drops, protecting sensitive electronics, and ensuring your system runs at peak performance. However, upgrading your alternator isn't just about bolting on a new part—it's about wiring everything properly to guarantee safety, efficiency, and longevity. In this expanded guide, we'll dive deep into how to safely wire a high-output alternator, ensuring your powerful audio system operates flawlessly and reliably under all conditions.

Understand Why High-Output Alternators Are Necessary
Before we dive into the wiring and technical steps, it's crucial to truly grasp why high-output alternators are essential for serious car audio enthusiasts. Factory alternators typically output between 80 to 150 amps, which may barely cover your car’s regular electronic demands. Add a sound system pulling 2,000 watts or more, and your alternator is instantly overwhelmed. Symptoms of an overworked alternator include dimming headlights, slow accessory response, weak bass output, amplifier clipping, and even catastrophic component failure.
Upgrading to a high-output alternator provides a stable power source that supports all your vehicle's needs—especially your amps and subs. For a deeper dive into how electrical system upgrades boost audio performance, visit our Expert Software.

Upgrade the Big Three Wiring
"The Big Three" upgrade is one of the most crucial steps when installing a high-output alternator. It refers to beefing up three essential electrical paths in your vehicle:
- Battery Negative to Chassis Ground
- Engine Block to Chassis Ground
- Alternator Positive to Battery Positive
Replacing these wires with thick, high-quality cables (usually 1/0 gauge) drastically reduces electrical resistance and allows your alternator to deliver its maximum potential. Always use oxygen-free copper (OFC) or top-grade copper-clad aluminum (CCA) for the best results.

Properly Size Your Wiring and Fusing
Choosing the correct gauge wiring and appropriate fuses isn't just a performance issue—it's a critical safety factor. High-output alternators generate huge currents, and using wire that's too small can lead to dangerous overheating, fires, and massive equipment failure. Here are some important rules of thumb:
- Use 1/0 gauge or larger wire for alternators rated 200 amps and above.
- Choose a fuse rated slightly above the alternator’s maximum amperage (e.g., a 250-amp fuse for a 220-amp alternator).
- Install the fuse as close to the battery or alternator output as possible—within 12 inches is ideal.
- Always use high-quality fuse holders and cables resistant to high temperatures.
Want a deeper dive into proper speaker wire sizing? Check out our in-depth guide Article.

Installation Process Step-by-Step
Now that you're armed with the right components, here’s a detailed look at the safe installation process:
- Disconnect the Battery: Before doing any electrical work, disconnect the negative terminal to prevent shorts.
- Remove the Old Alternator: Remove your factory alternator carefully, noting the routing of any attached wires or belts.
- Install the High-Output Alternator: Mount your new alternator, ensuring that all bolts are properly torqued for a secure fit.
- Wire the Alternator Output: Run your 1/0 gauge wire from the alternator’s positive output stud to your battery positive terminal, using a properly rated fuse.
- Upgrade the Ground Wires: Replace your battery-to-chassis ground and engine-to-chassis ground with 1/0 gauge wire as well.
- Reconnect the Battery: After double-checking all connections and fusing, reconnect the battery and fire up the engine.
- Test Charging Voltage: With everything running, use a multimeter to ensure you’re seeing 13.8V to 14.8V at idle, depending on system load.
For more step-by-step guidance, check out our Articles page.

Maintain and Monitor Your Electrical System
Even after successful installation, long-term reliability requires ongoing maintenance. Here are key practices to keep your system healthy:
- Monitor Voltage Regularly: Install a voltage gauge on your dashboard to keep an eye on system health in real-time.
- Inspect Connections: Perform monthly checks of all wiring connections to catch corrosion, fraying, or loose terminals early.
- Battery Maintenance: Always ensure your battery is healthy, correctly rated for your system, and properly charged.
- Reassess Your Amp Draw: As you upgrade or expand your system, recalculate total current draw to ensure you’re not exceeding alternator capacity.
- Clean Grounds: Keep ground points free of rust and oxidation to maintain excellent electrical conductivity.

Conclusion
Safely wiring a high-output alternator is one of the smartest investments you can make for a powerful and reliable car audio system. By properly upgrading the Big Three, using the correct wiring and fusing, carefully installing your alternator, and maintaining your setup, you'll enjoy steady voltage, superior sound quality, and long-lasting performance.
If you’re ready to start your upgrade journey, need advice on component selection, or are looking for the best quality CCA wires, visit Baboom Baboom today. For more tutorials, tips, and expert insights, get in touch with our friendly team through our Contact Page. Power your passion the right way—because your ears, your equipment, and your love for music deserve nothing less!


