How to Properly Crimp and Connect Car Audio Wires
Share
Introduction
When it comes to installing or upgrading a car audio system, ensuring that your wires are properly crimped and connected is critical for both performance and safety. In this guide, we’ll walk through the essential steps to properly crimp and connect car audio wires, helping you achieve a secure, reliable, and high-performance installation.
Why Proper Crimping Matters?
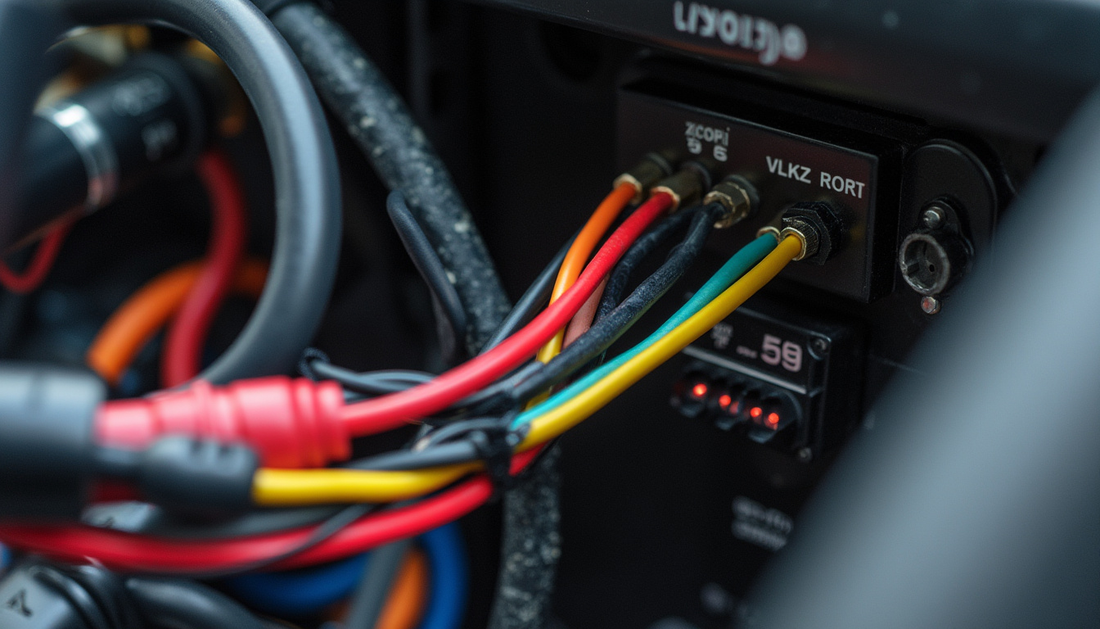
Crimping is the process of joining two pieces of wire or a wire to a terminal by compressing a connector around them. In car audio systems, secure wire connections are crucial for maintaining a consistent flow of electrical current to your amplifiers, speakers, and other components. Improper connections can lead to signal loss, interference from other electrical systems, overheating that damages wires or components, and even safety hazards like electrical shorts or fires. By using the right crimping and connection techniques, you’ll not only improve the performance of your car audio system but also enhance its overall safety and longevity.

Tools You’ll Need
Before starting, make sure you have the proper tools and materials:
- Wire stripper: To remove the insulation from the wires.
- Crimping tool: Specifically designed for crimping audio or electrical connectors.
- Heat shrink tubing: For insulating and protecting connections.
- Electrical tape: As an alternative or supplementary insulation.
- Crimp terminals or butt connectors: For joining wires or connecting them to other components.
- Multimeter: To test your connections for continuity and voltage.

Step-by-Step Guide to Crimping Car Audio Wires
Step 1: Strip the Wire
Begin by stripping about ¼ to ½ inch of insulation from the end of each wire. Use a wire stripper to carefully remove the insulation without damaging the copper strands underneath. For Copper-Clad Aluminum (CCA) wires, be extra cautious, as they are more delicate than pure copper wires.
Step 2: Select the Right Connector
Choose a crimp connector or terminal that fits the size of your wire and matches the type of connection you’re making. Butt connectors are used to join two wires, while ring or spade terminals are used to connect wires to other components, such as amplifiers or speakers.
Pro tip: When selecting connectors, use high-quality, insulated crimp connectors to provide added protection against short circuits and environmental damage.
Step 3: Insert the Wire into the Connector
Place the stripped wire into the connector until it reaches the metal part of the terminal. Ensure that the wire is inserted all the way in, and none of the copper strands are exposed. For larger gauge wires, such as 12 GA or 10 GA commonly used in car audio, you may need to twist the strands slightly to fit them neatly into the connector.

Step 4: Crimp the Connector
Using a crimping tool, position the connector in the tool’s appropriate slot, matching the wire gauge to the labeled slot on the tool. Apply steady pressure to compress the connector around the wire. You should feel a firm click or resistance when the crimp is complete.
Important: Make sure the crimp is secure by gently tugging on the wire. If the wire comes loose, the crimp is not tight enough, and you’ll need to redo it.
Step 5: Insulate the Connection
Once the crimp is secure, slide heat shrink tubing over the connection or wrap it in electrical tape. Use a heat gun or lighter to shrink the tubing, ensuring it forms a snug fit around the connector. Proper insulation will protect the connection from moisture, heat, and vibrations, which are common in car environments.
Step 6: Test Your Connections
After completing all your wire connections, use a multimeter to test the continuity and voltage of the wires. This will ensure that your connections are stable and delivering the correct power levels to your car audio components.

Conclusion
Properly crimping and connecting your car audio wires is essential for ensuring reliable performance and avoiding potential electrical issues. By using the correct tools, following the right steps, and taking the time to test your connections, you’ll ensure that your car audio system delivers the best possible sound quality without the risk of faulty wiring. Whether you’re installing a new system or upgrading an existing one, investing in quality connectors and taking the time to crimp your wires correctly will save you from future headaches and ensure a powerful, long-lasting audio experience.

