How to Identify Positive and Negative Speaker Wires
Share
Introduction
When setting up or troubleshooting speaker systems, one of the most crucial steps is correctly identifying the positive (+) and negative (-) speaker wires. Connecting these wires properly is essential for maintaining the polarity of the speaker system, which affects sound quality and overall performance. Misconnecting these wires can lead to poor audio quality, distortion, or even damage to the audio equipment. Whether you’re working with home speakers, car audio systems, or custom setups, here’s a guide on how to identify positive and negative speaker wires.
Why Polarity Matters in Speaker Wiring
The polarity of speaker wires refers to the direction of electrical current flow from the amplifier to the speaker. If the positive and negative wires are reversed, your speakers will be “out of phase,” which can significantly degrade sound quality. Speakers that are out of phase won’t work together to create a cohesive sound, and this will result in:
- Loss of bass response
- Muffled sound
- Poor overall audio clarity
To avoid these issues, it’s important to ensure that you’ve correctly identified and connected the positive and negative wires to their respective terminals on both the speaker and the amplifier.

Identifying Speaker Wires
1. Color Coding
One of the simplest ways to identify positive and negative speaker wires is by color. Many speaker systems follow a standard color-coding scheme:
- Positive wire (+): Often red
- Negative wire (-): Often black
However, not all manufacturers follow the same color-coding standard, especially in custom audio setups or older speaker systems. In such cases, you’ll need alternative methods to determine polarity.
Learn more about wire color codes:
- What Does The Red Wire Mean?
- What Does The Blue Wire Mean?
- What Does The Green Wire Mean?
- What Does The Yellow Wire Mean?
- What Does The White Wire Mean?
- What Does The Black Wire Mean?
2. Labels on the Wire
Some speaker wires come with built-in markings to help you identify polarity. These markings could be a printed "+" or "-" symbol along the length of the wire. If the wires aren’t marked with symbols, they may have text, stripes, or even a ridge or groove on the insulation to indicate the positive side. Typically:
- Positive wire: May have a stripe, text, or a smooth surface
- Negative wire: Often plain or with a ridge on the insulation

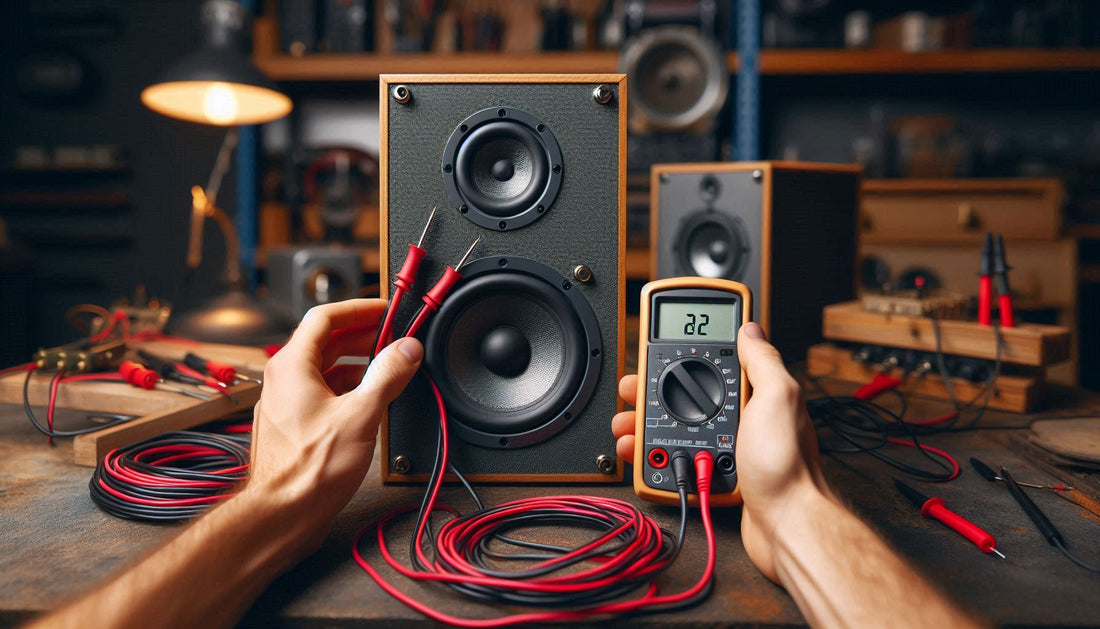
3. Using a Multimeter
If your wires are unmarked and you cannot tell them apart visually, a multimeter is a reliable tool for identifying speaker wire polarity. Here’s how you can use one:
- Set the multimeter to measure DC voltage.
- Connect the multimeter’s black probe to the suspected negative wire and the red probe to the suspected positive wire.
- Play a test tone or audio through the system and observe the reading. If the voltage reading is positive, the wires are correctly connected. If the reading is negative, the wires are reversed.
4. Battery Test
Another simple method for checking speaker wire polarity is the battery test. This technique involves using a small battery (like a 1.5V AA battery):
- Disconnect the speaker from the amplifier.
- Briefly touch the positive terminal of the battery to the suspected positive wire and the negative terminal to the suspected negative wire.
- Watch the speaker cone movement. If the speaker cone pushes outward, the wire connected to the positive battery terminal is the positive wire. If it pulls inward, the wires are reversed.

Common Mistakes to Avoid
- Assuming all speakers have the same wire colors: Some systems may use different color codes for different speakers or channels. Always double-check before connecting.
- Skipping the polarity test: It’s tempting to skip tests and go by visual inspection alone, but tools like a multimeter or the battery test can confirm polarity and prevent potential damage to your audio equipment.
Tips for Proper Wiring
- Label your wires: When installing or replacing wires, it’s a good practice to label them with their polarity to avoid confusion during future maintenance.
- Use high-quality wire: Ensure you are using the appropriate gauge and type of wire for your system. In most cases, 12 gauge, 14 gauge, and 16 gauge wire is suitable for home and car audio systems. Using quality wire will ensure better conductivity and reduce signal loss.

Conclusion
Correctly identifying and connecting positive and negative speaker wires is essential for achieving the best sound quality and protecting your audio system. By using visual cues, labels, or tools like a multimeter, you can quickly determine which wire is which. Taking the time to properly identify and connect the wires will ensure that your speakers operate at their full potential, providing clear, distortion-free audio.
Whether you’re setting up home speakers, installing car audio, or customizing a sound system, ensuring the correct polarity is a small but vital step toward achieving high-quality sound performance.


