How to Create Temporary Holiday Lighting Displays on a Budget
Share
Introduction
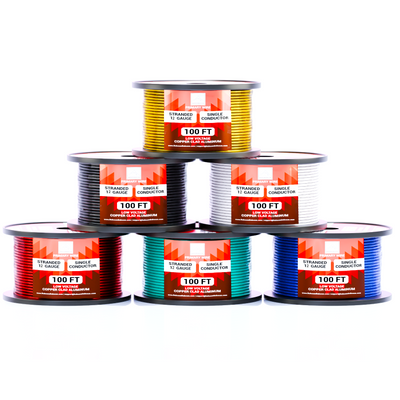
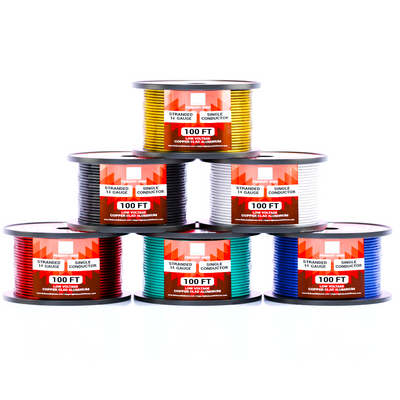
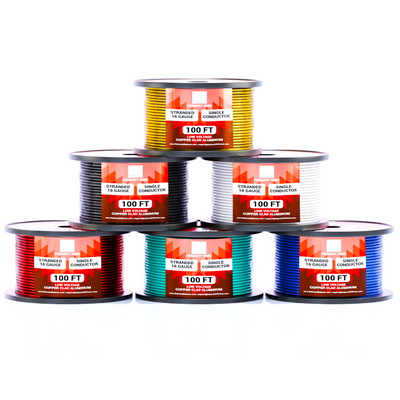
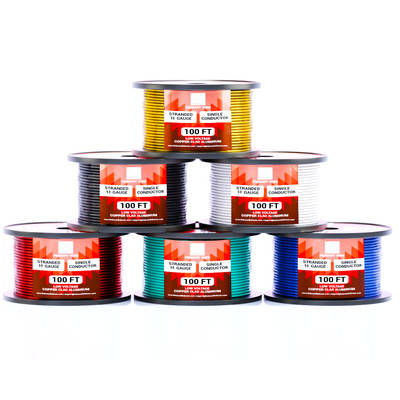
Holiday lighting displays are a festive way to celebrate the season, but setting them up can be costly and time-consuming. With a little planning and the right materials—like budget-friendly CCA (Copper-Clad Aluminum) wire—you can create dazzling, temporary holiday lighting displays without breaking the bank. This guide will help you design, install, and maintain your setup with ease.
Why Use CCA Wire for Holiday Lighting?
Copper-Clad Aluminum wire is an excellent choice for temporary holiday lighting because:
- Cost-Effective: Cheaper than pure copper, ideal for large-scale lighting setups.
- Lightweight: Easier to handle, especially for complex designs.
- Adequate for Low Voltage: Perfect for LED strings and other low-power decorations.

Step-by-Step Guide to Holiday Lighting Displays
Step 1: Plan Your Design
- Sketch the Layout: Outline where you want lights—rooftops, trees, pathways, or windows.
- Measure Distances: Ensure you know the lengths required for wires and lights.
- Choose Light Types: LED string lights, floodlights, and rope lights are energy-efficient options.
Step 2: Gather Materials
You’ll need:
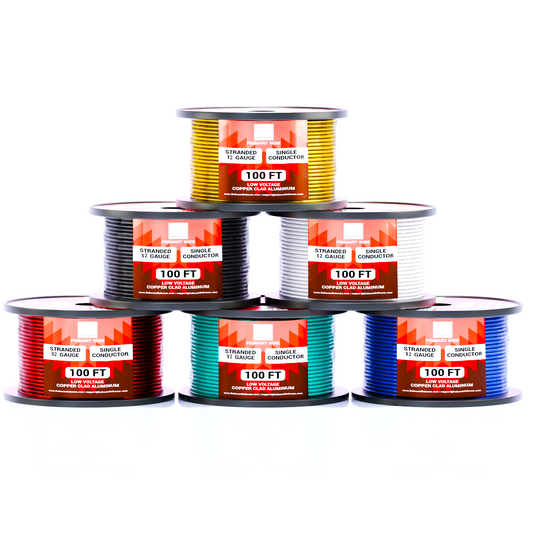
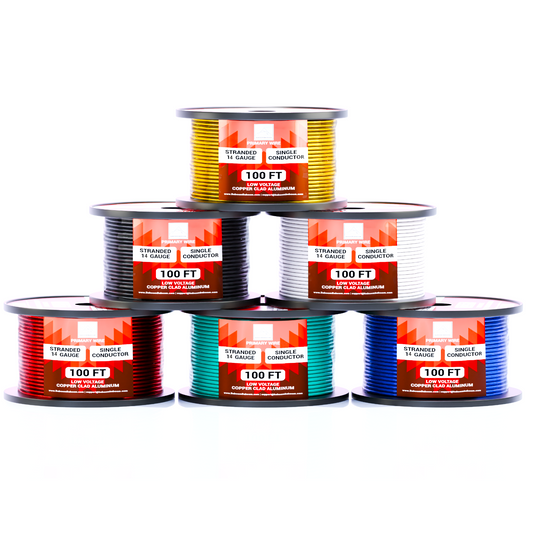
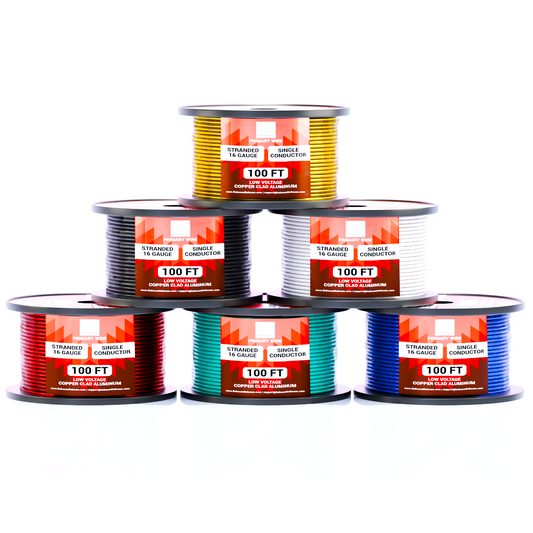
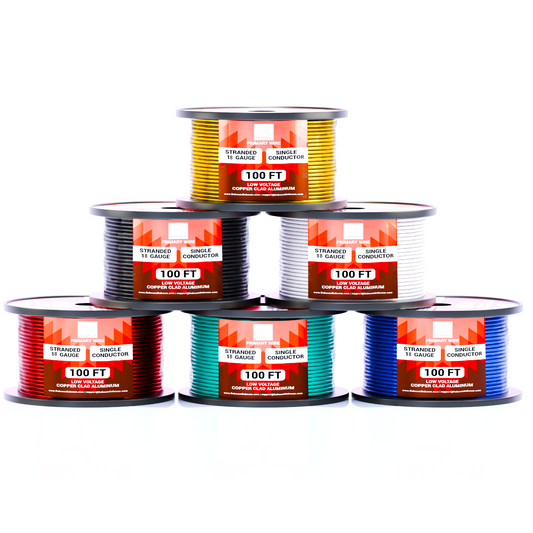
- CCA wire (appropriate gauge, typically 18 Gauge/20 Gauge/22 Gauge for LED lights).
- LED light strings or rope lights.
- Extension cords (outdoor-rated).
- Insulated connectors or waterproof terminals.
- Cable ties or clips for securing wires.
- Timer or smart plug for automation.

Step 3: Install the Lighting
-
Start with a Secure Power Source:
- Use an outdoor-rated GFCI outlet to prevent electrical hazards.
- Position power sources near the start of your lighting setup.
-
Wire the Lights:
- Cut the CCA wire to the required length for custom light placements.
- Connect lights in parallel for consistent brightness across the display.
- Use insulated connectors to secure connections and prevent short circuits.
-
Secure the Wires:
- Use cable ties or clips to attach wires to fences, gutters, or poles.
- Ensure wires are not pinched or exposed to sharp edges.
Step 4: Add Weatherproofing
- Protect Connections: Cover all connections with waterproof tape or heat-shrink tubing.
- Elevate Wires: Keep wires off the ground to prevent exposure to water or snow.
- Use Conduits: For areas with heavy foot traffic, enclose wires in protective conduits.
Step 5: Automate the Display
- Timers: Set a timer to turn lights on and off automatically.
- Smart Plugs: Control the display remotely via a smartphone app.
- Motion Sensors: Add sensors for dynamic lighting effects when someone approaches.

Creative Ideas for Your Holiday Lighting
- Pathway Lanterns: Line your walkways with LED rope lights.
- Tree Wraps: Spiral string lights around tree trunks and branches for a magical glow.
- Dynamic Effects: Use color-changing LEDs for a playful light show.
- Outdoor Figures: Build custom light-up shapes using wireframes and LEDs.
Safety Tips for Holiday Lighting
- Avoid Overloading Circuits: Check the total wattage to ensure your power source can handle the load.
- Inspect Wires: Look for frays or damage before installation.
- Turn Off When Unattended: Always turn off your display when no one is around to avoid potential hazards.

Conclusion
With a bit of creativity and the right tools, you can build a stunning holiday lighting display that brings festive cheer to your home. By using cost-effective CCA wire and energy-efficient LEDs, you’ll save money while creating an eye-catching setup that’s easy to install and maintain.
Ready to light up your holidays? Explore our collection of wires and connectors at baboombaboom.com and get started today!

