How to Build Your Own Speaker Box: A Step-by-Step Guide
Share
Introduction
Building a speaker box can enhance sound quality and add a custom look to your audio setup, whether it’s for a home theater or car audio system. Creating your own speaker enclosure allows you to tailor the design, size, and sound output to suit your preferences and specific speakers. In this guide, we’ll go over the materials, measurements, and construction steps needed to build a high-quality speaker box that brings out the best in your speakers. Let’s dive in!
1. Choosing the Right Materials
The first step in creating a speaker box is selecting materials that will offer durability and good sound quality.
- MDF (Medium-Density Fiberboard): MDF is a popular choice for speaker boxes due to its density and cost-effectiveness. Its uniform surface minimizes vibrations and enhances sound clarity.
- Plywood: High-quality plywood, like birch, can also work well for speaker enclosures. While lighter than MDF, it may be more prone to resonance, which can affect sound.
- Foam or Acoustic Insulation: Adding foam or insulation inside the box can help absorb unwanted frequencies and prevent internal reflections that affect sound quality.
- Screws, Wood Glue, and Caulk: To assemble the box and ensure airtight seals.
Choose materials based on your budget, desired sound quality, and intended use. For example, MDF is ideal for car audio boxes due to its strength, but plywood may be better for portable speaker boxes due to its lighter weight.

2. Calculate and Design the Dimensions
A well-designed speaker box should be the right size and shape to maximize sound quality for your speakers. Follow these steps to determine the correct dimensions:
- Understand the Speaker Specs: Every speaker has recommended box dimensions that suit its sound output. Look for your speaker’s Thiele-Small (T/S) parameters, which include volume (Vb) and tuning frequency (Fb). These specs guide you in designing the right box size.
- Determine the Box Volume: Based on the speaker’s specifications, calculate the box’s internal volume (in cubic inches or liters). Keep in mind that adding internal components like insulation or ports can affect this volume. Online calculators or speaker design software can help with these calculations.
- Choose a Shape: Speaker boxes generally come in three shapes:
- Sealed Boxes: Compact and airtight, producing tighter bass.
- Ported Boxes: Have an opening (port) for enhanced bass response. Ideal for larger spaces or those who prefer deep bass.
- Bandpass Boxes: Complex designs often used for subwoofers, combining sealed and ported chambers for maximum bass.
Designing the shape based on your listening preference is key. Sealed boxes are more precise, while ported boxes enhance bass output.
3. Cut and Prepare the Panels
Now that you’ve chosen the design and calculated dimensions, it’s time to cut the MDF or plywood panels.
- Measure and Mark: Use a measuring tape to mark each panel’s dimensions precisely. Be sure to account for the thickness of the material to get the internal dimensions correct.
- Cut the Panels: Use a table saw for clean, straight cuts. Safety is essential, so wear protective eyewear and gloves.
- Create Holes for the Speaker and Port: If you’re adding a port, mark and cut the opening for it. Also, mark where the speaker itself will be installed. Use a jigsaw or hole saw for circular cuts.
- Sand the Edges: Smooth out any rough edges or uneven surfaces with sandpaper for a clean finish and secure fit.

4. Assemble the Speaker Box
With all panels cut and prepared, you’re ready to assemble your speaker box.
- Apply Wood Glue: Start by applying wood glue to the edges of each panel and position them together according to your design. Work slowly to ensure each panel aligns perfectly, as a small gap can impact sound quality.
- Clamp the Panels: Use clamps to hold each piece in place while the glue dries, which helps to create a secure and airtight fit. Let the glue dry fully before proceeding.
- Add Screws for Extra Support: Even with glue, screws add stability. Drill small pilot holes to avoid splitting the wood, and then add screws along each edge.
- Seal the Interior: Use silicone caulk along the inside edges of the box to make it airtight, as leaks can disrupt sound quality. Apply the caulk generously, but avoid covering areas where the speakers or ports will go.
5. Install Insulation and Ports
Adding acoustic insulation and ports can further improve the sound quality of your speaker box.
- Add Insulation: Line the inner walls of the box with foam or acoustic insulation. This minimizes sound wave reflections inside the box and produces cleaner audio output.
- Install Ports (if applicable): If your design includes a port, secure it into place. Ports work best when they match the box’s volume and speaker’s specifications, so consult your speaker’s specs before choosing the port’s length and diameter.

6. Mount the Speaker and Wiring
Once the box structure is complete, it’s time to mount the speaker and set up the wiring.
- Position the Speaker: Insert the speaker into its designated hole, ensuring it fits securely.
- Secure the Speaker: Use screws to hold the speaker firmly in place, ensuring no gaps around the edges.
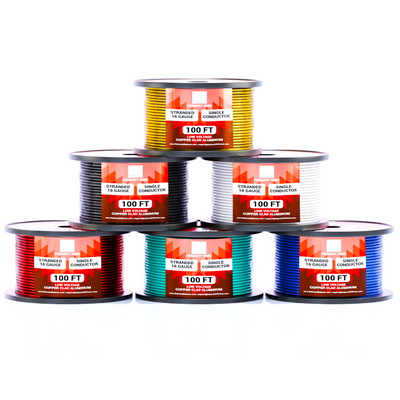
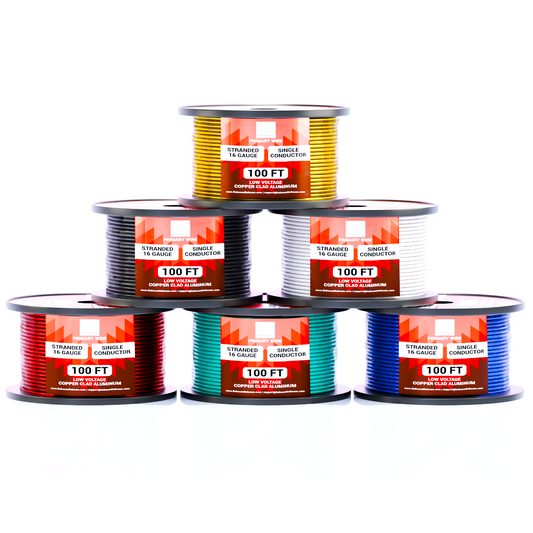
- Connect the Wires: Run the speaker wire through a small hole drilled in the box, or use a terminal cup to connect external wiring. Choose an appropriate wire gauge, like 14GA wire or 16GA wire, depending on the speaker’s power needs. Copper-Clad Aluminum (CCA) wire works well for short runs and budget-friendly setups.
- Seal Around the Speaker: For a sealed box, make sure there are no gaps around the speaker. Use caulk if needed to ensure an airtight seal.
7. Test the Speaker Box
Before securing the speaker box in its final position, test the audio quality to ensure everything is working correctly.
- Check for Air Leaks: Play some bass-heavy music and feel around the box for air leaks, which can reduce sound quality. Seal any leaks with additional caulk.
- Listen for Sound Quality: Assess the bass response and clarity. If you hear rattling or distortion, check the screws and connections to make sure everything is secure.
- Make Adjustments if Needed: If your box design includes a port, try adjusting the port length to fine-tune the bass response.

Conclusion
Building your own speaker box is a rewarding project that allows you to customize your audio experience and improve sound quality. By carefully selecting materials, designing the right dimensions, and assembling the box with care, you’ll create a speaker enclosure that enhances audio output for both casual listening and high-performance setups. Whether you’re setting up a car audio system or upgrading home speakers, this guide provides a solid foundation for a successful DIY speaker box project. So gather your tools, plan your design, and start building a speaker box that fits your unique audio needs!

