The Ultimate Guide to Weatherproofing Your Outdoor Electrical Wiring
Introduction
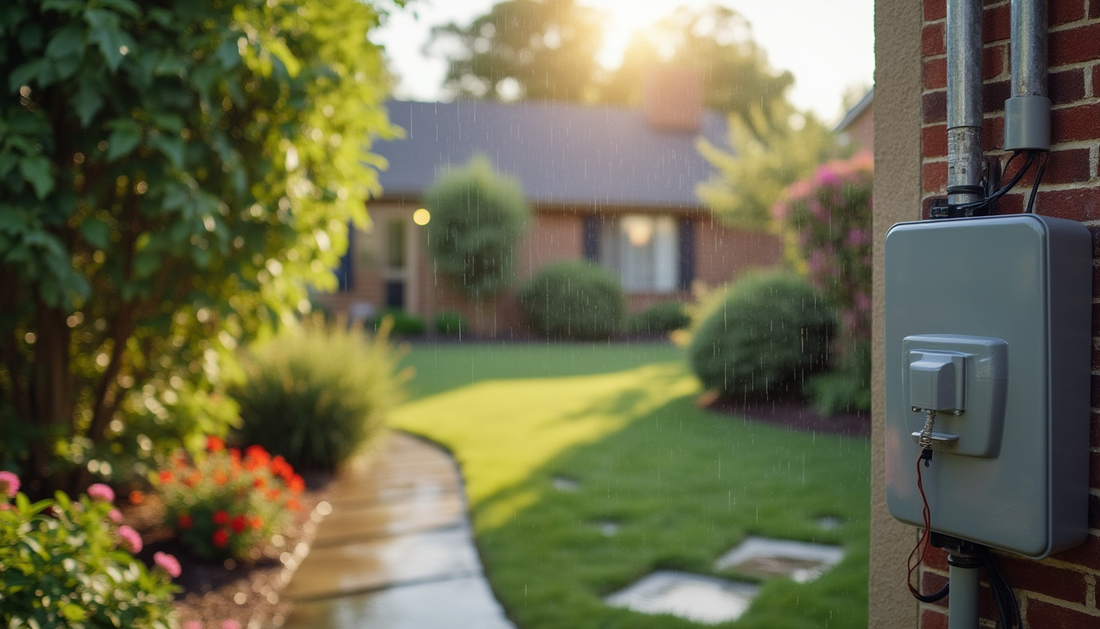
Outdoor electrical systems face a unique set of challenges that indoor systems don't. From heavy rain, snow, and humidity to intense sun exposure, fluctuating temperatures, and the risk of physical damage, your outdoor electrical wiring must withstand the elements while remaining safe and functional. Without proper protection, your wiring is at risk of short circuits, corrosion, electrical fires, and premature equipment failure. In this comprehensive guide, we’ll walk through the essential steps and best practices to effectively weatherproof your outdoor electrical wiring and keep it safe from the elements.

Why Weatherproofing is Essential
1. Moisture Protection: Moisture is one of the most common causes of electrical failures in outdoor environments. Whether from rain, snow, or humidity, water can seep into unprotected wiring and connections, leading to short circuits, corrosion, and electrical malfunctions. Proper weatherproofing prevents water ingress, ensuring that your electrical system remains functional and safe.
2. UV Protection: Outdoor wiring exposed to sunlight can suffer from UV degradation over time. UV rays can break down the insulation on wires, leading to cracks, brittleness, and eventual failure. UV-resistant materials or proper protection can help maintain the integrity of your wiring and prevent the need for frequent repairs or replacements.
3. Temperature Resistance: Outdoor electrical systems are subject to a wide range of temperatures, from freezing winters to sweltering summers. These temperature fluctuations can cause the expansion and contraction of materials, leading to potential damage. Proper weatherproofing materials help ensure that your wiring remains flexible and intact even in extreme heat or cold.
4. Safety Concerns: One of the most important reasons to weatherproof your outdoor electrical system is safety. Exposed wires or faulty connections can lead to electrical shocks, fires, or even electrocution. By taking the right precautions, you can protect yourself, your family, and your property from dangerous electrical accidents.

Key Weatherproofing Methods
To protect your outdoor electrical wiring, you need to choose the right materials and techniques that address the various environmental hazards your system may face. Here are some of the most effective weatherproofing methods:
1. Use Weatherproof Electrical Boxes
The first step in weatherproofing is to ensure that all electrical components—such as outlets, switches, and junctions—are housed in weatherproof boxes. These boxes should be rated for outdoor use and designed to keep water, dust, and debris out of the electrical connections. Look for boxes with rubber gaskets that provide a tight seal when closed.
2. Waterproof Conduit
Running outdoor electrical wiring through a conduit is one of the most effective ways to protect it from moisture, physical damage, and UV rays. A conduit is a tube or channel that encloses the wire, shielding it from the elements. For outdoor applications, PVC and metal conduits are the best options.
- PVC conduit: Resistant to moisture and corrosion, making it ideal for underground installations or areas exposed to rain.
- Metal conduit: Durable and resistant to physical damage, though it may require additional coatings to prevent rust in wet environments.
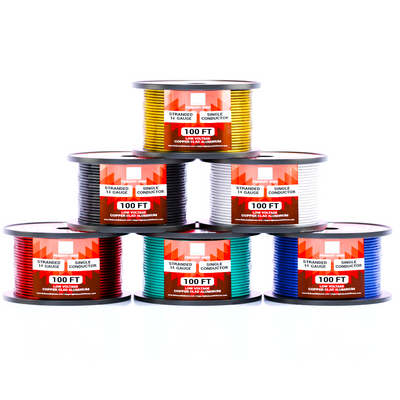
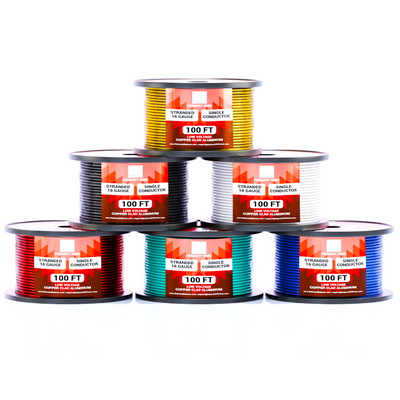
3. Choose Properly Rated Cables
Not all cables are designed for outdoor use, so it’s important to choose wires that are rated for the specific environment in which they’ll be installed. Two of the most common types of outdoor-rated cables are:
- UF (Underground Feeder) cable: Designed for direct burial, this cable has a thick jacket that protects it from moisture, dirt, and damage from underground pests. UF cable is ideal for buried wiring between outdoor structures.
- THWN wire: Commonly used for outdoor conduit installations, THWN (Thermoplastic Heat and Water-Resistant Nylon) wire has a tough nylon coating that makes it resistant to water, heat, and UV radiation.
4. Seal Connections with Heat Shrink Tubing
One of the most vulnerable points in any electrical system is where wires are joined or spliced. To keep moisture out of these connections, use heat shrink tubing. This material, when heated, shrinks to form a tight, watertight seal around your wire connections.
- Cut the tubing to size, slide it over the connection, and use a heat gun to shrink it down.
- Ensure that the tubing fully covers the exposed wires and overlaps with the insulated sections.
This simple step can prevent water from seeping into the connections and causing corrosion or short circuits.
5. Apply Electrical Tape or Sealant
In addition to heat shrink tubing, applying waterproof electrical tape or sealant around connections provides extra protection. High-quality electrical tape should be used to wrap exposed wires, especially in areas prone to water exposure or where wires may be subject to movement.

Best Wire Gauge for Outdoor Applications
Choosing the right wire gauge is just as important as protecting it from the elements. For outdoor installations, thicker wire gauges are generally better suited to handling the increased electrical load and long distances typical of outdoor wiring.
Here are some common wire gauges for outdoor applications:
| Wire Gauge | Recommended Use | Advantages |
|---|---|---|
| 10 GA | High-power devices, such as outdoor lighting | Handles heavy electrical loads, low resistance over long distances |
| 12 GA | General outdoor lighting, outlets | Versatile for most outdoor applications, good balance of power and flexibility |
| 14 GA | Low-power devices, garden lighting | Best for smaller installations with low power needs |
Larger wire gauges (lower gauge numbers) are typically used when you need to run power over long distances or handle heavier loads without risking voltage drops or overheating.
Steps for Installing Weatherproof Wiring
Here’s a step-by-step guide to installing weatherproof outdoor wiring:
- Turn off Power: Before starting any electrical work, turn off the power at the breaker box to ensure safety.
- Install the Conduit: Measure and cut the conduit to size. Secure it in place along the installation path and ensure proper sealing at joints.
- Install Weatherproof Boxes: Mount weatherproof junction boxes or outlets at the appropriate locations. Make sure the gaskets are tight and provide a complete seal.
- Run the Wire: Pull the outdoor-rated wire (such as UF or THWN) through the conduit and into the weatherproof boxes.
- Seal Connections: Use heat shrink tubing, electrical tape, and sealant to waterproof all wire connections.
- Test the System: Once everything is connected and secure, turn the power back on and test the system to ensure everything works properly.

Tips for Maintaining Weatherproofed Wiring
Even after installation, regular maintenance is essential to ensure your outdoor wiring remains in good condition. Here are some tips:
- Inspect regularly: Check wires and connections for signs of wear, corrosion, or damage, especially after severe weather.
- Replace damaged insulation: If you notice cracked or brittle wire insulation, replace the wire immediately to avoid potential hazards.
- Keep the area clear: Trim any vegetation or obstacles around the wiring to prevent damage or interference.
Conclusion
Weatherproofing your outdoor electrical wiring is critical for safety, performance, and longevity. By choosing the right materials—such as weatherproof boxes, outdoor-rated cables, and protective conduits—you can shield your system from the elements and ensure long-lasting functionality. Whether you’re running power to outdoor lights, garden equipment, or any other outdoor system, following these steps will help protect your wiring from the harshest conditions.