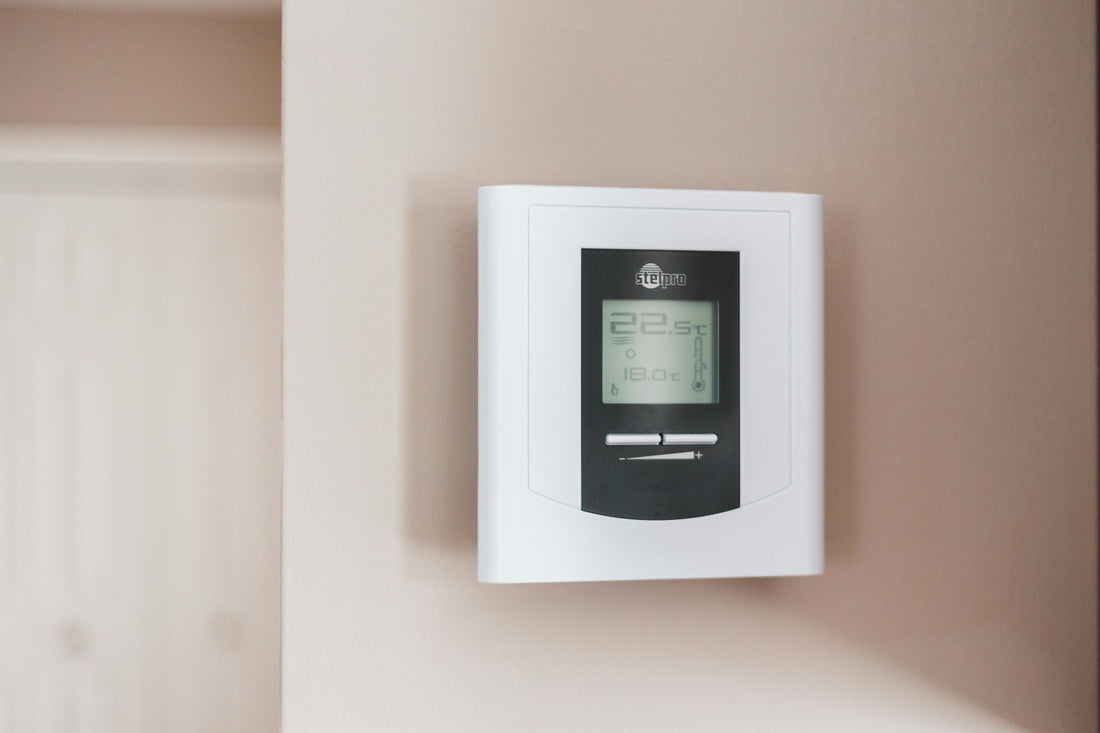
How to Wire a New Thermostat for Your HVAC System
Share
Introduction
Installing a new thermostat for your HVAC system can enhance your home's comfort and energy efficiency. Proper wiring is crucial for the thermostat to communicate effectively with your HVAC system. This guide will walk you through the steps of wiring a new thermostat safely and efficiently, ensuring you understand each step in detail to avoid common mistakes.
1. Gathering Tools and Materials
Before you begin, make sure you have all the necessary tools and materials:
- New thermostat: Primary device for temperature regulation
- Screwdriver set: Remove and secure screws
- Wire strippers: Strip wire insulation
- Drill (if needed for mounting): Create mounting holes
- Level: Ensure horizontal installation
- Tape measure: Measure height and distance
- Electrical tape: Secure and insulate connections
- Wire labels: Identify and organize wires
Having everything prepared will streamline the installation process and help prevent any interruptions.

2. Turning Off Power
Safety first! Turn off the power to your HVAC system at the breaker panel to prevent any electrical shocks or damage to your system. Verify the power is off by attempting to operate the HVAC system after flipping the breaker.

3. Removing the Old Thermostat
- Take Note of the Existing Wiring: Before removing the old thermostat, take a picture or note the wiring configuration. This will help you match the wires correctly to the new thermostat.
- Remove the Thermostat Cover: Gently pry off the cover of the old thermostat. Most covers snap off, but some may require a screwdriver.
- Disconnect the Wires: Use a screwdriver to loosen the screws holding the wires in place and disconnect them. Label each wire with tape to identify their function (e.g., R, W, Y, G, C).

4. Installing the New Thermostat Base
- Mount the New Base: Position the new thermostat base on the wall. Use a level to ensure it is straight, then mark the screw holes.
- Drill Pilot Holes: If necessary, drill pilot holes at the marked locations. This step is crucial for ensuring that the screws can easily secure the base.
- Attach the Base: Secure the base to the wall with screws, ensuring it is level and firmly in place.
5. Choosing and Connecting the Right Wire Gauge
Selecting the right wire gauge is critical for the performance and safety of your thermostat installation. The wire gauge determines the capacity of the wire to carry current without overheating or causing voltage drops. Using the incorrect wire gauge can lead to inefficiency and potential hazards.
Here’s a table to help you select the right wire gauge for your thermostat wiring:
| Wire Gauge (GA) | Maximum Current (Amps) | Recommended Use |
|---|---|---|
| 16 GA | 7.5 Amps | Longer runs, higher power |
| 18 GA | 5 Amps | Standard thermostat wiring |
| 20 GA | 3.3 Amps | Shorter runs, low-power usage |
| 22 GA | 2.7 Amps | Low-power, very short runs |
This table should help guide the selection of wire gauges for various components in your thermostat installation. Ensure that the wire gauge matches the power requirements of your equipment to prevent issues such as voltage drop or overheating. Adjustments may be needed based on specific equipment specifications and installation conditions.

Refer to the labels you placed on the wires and connect them to the corresponding terminals on the new thermostat. Ensure each wire is securely fastened to its terminal to prevent any loose connections that could disrupt the thermostat's operation.
6. Securing the Wires
Ensure all connections are tight and secure. Use electrical tape to wrap any exposed wire ends to prevent short circuits. Tuck any excess wire back into the wall to keep the area tidy and safe.

7. Attaching the Thermostat Cover
Place the cover on the new thermostat and snap it into place. Ensure it fits snugly and securely. Some thermostats might require you to attach the cover with screws.
8. Turning On Power
Turn the power back on at the breaker panel and test your new thermostat to ensure it is functioning correctly. Follow the thermostat's instructions to begin the setup process.

9. Programming the Thermostat
Follow the manufacturer's instructions to program your new thermostat. Set your desired temperatures and schedules to optimize energy efficiency and comfort. Many modern thermostats offer smartphone integration, allowing you to control your HVAC system remotely.
10. Troubleshooting Common Issues
If you encounter any issues, consult the thermostat's manual for troubleshooting tips. Common problems include:
- Incorrect Wiring: Double-check your wire connections.
- No Power: Ensure the breaker is turned on and the HVAC system is receiving power.
- System Not Responding: Make sure the thermostat is properly programmed and set to the correct mode (heating or cooling).

Conclusion
Wiring a new thermostat for your HVAC system is a straightforward process that can significantly improve your home's comfort and energy efficiency. By following these steps, you can ensure a safe and successful installation. If you encounter any difficulties or are unsure about any step, consider consulting a professional electrician or HVAC technician for assistance. Proper planning, precise execution, and attention to detail will lead to optimal results in your thermostat installation project.


