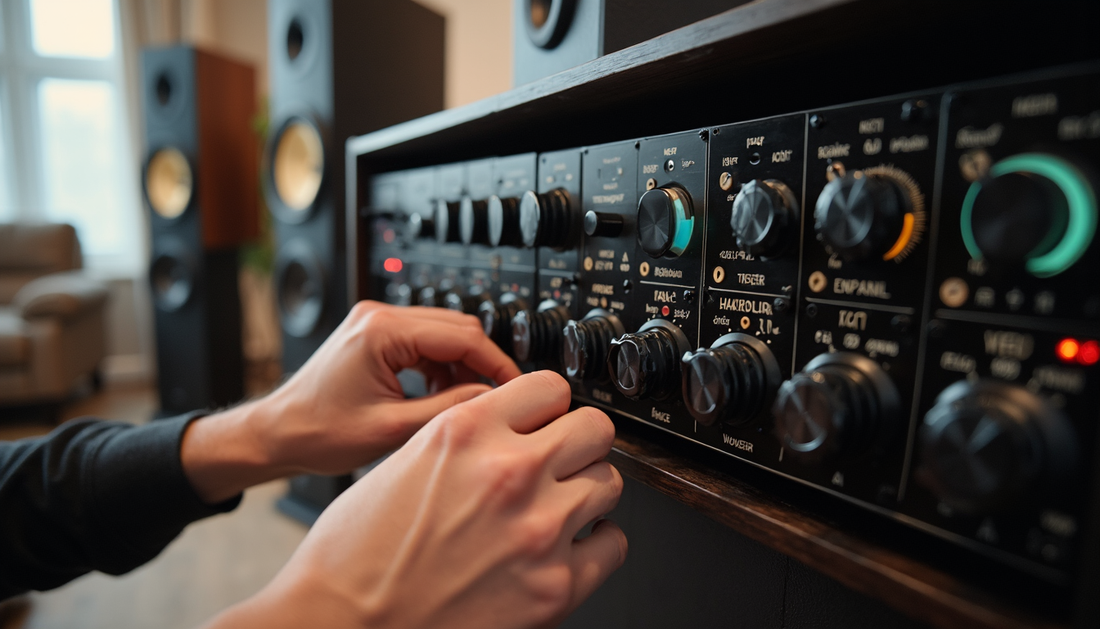
How to Set Up and Adjust Speaker Crossovers for the Best Audio Experience
Share
Introduction
In the first part of this series, we explored the fundamentals of speaker crossovers and why they are essential for producing clear and balanced sound. Now that you understand what crossovers do and how they work, it's time to dive into the practical side of things. In this blog, we'll cover how to set up and adjust speaker crossovers for your specific audio system, whether you’re dealing with car audio, home theater, or professional sound setups. Follow these steps to optimize your crossover settings and get the best possible audio experience.

Step 1: Identify Your Audio System Components
Before you start adjusting your crossovers, it’s important to understand the components of your audio system. Typically, these systems include:
- Amplifiers: Boosts the audio signal before it reaches the speakers.
- Speakers (tweeters, mid-range drivers, woofers): Each speaker handles a specific range of frequencies.
- Crossover (passive or active): Divides the audio signal into different frequency bands.
If you’re working with passive crossovers, they will already be built into the speaker system, so you won’t need additional equipment. However, for an active crossover setup, you’ll need external crossovers and individual amplifiers for each frequency band.
Step 2: Choose the Right Crossover Type
Deciding between a passive and active crossover is the first major step. Here’s how to make that choice:
- Use a passive crossover if you want a simple, plug-and-play setup with minimal complexity. These are typically found in home speaker systems or car audio systems and are pre-installed in the speakers.
- Use an active crossover if you need more control over your system. Active crossovers allow you to fine-tune your audio by adjusting the crossover points and output levels, but they require more equipment and expertise to set up.

Step 3: Set Your Crossover Frequencies
Once you have the right crossover for your system, it’s time to set the appropriate crossover frequencies. These frequencies determine where the sound will be divided between your tweeters, mid-range drivers, and woofers.
Typical Crossover Frequency Settings:
- For Tweeters (High-pass filter): Set around 2,000 Hz to 5,000 Hz. This ensures that only high frequencies reach the tweeter.
- For Woofers (Low-pass filter): Set between 80 Hz and 120 Hz, which focuses the low-end bass frequencies to the woofer.
- For Mid-range Drivers (Band-pass filter): Set between 500 Hz and 4,000 Hz to cover the mid-range.
Fine-Tuning:
- Experiment with different settings based on your personal listening preference.
- Start with the typical frequency ranges and adjust gradually to find the perfect balance for your system.
Step 4: Adjust Gain and Levels
After setting the crossover frequencies, you need to adjust the gain on each amplifier. Gain controls the signal strength sent to each speaker, ensuring a balanced output across all drivers.
- Match the gain levels: Make sure that the tweeter, mid-range, and woofer volumes are balanced, so one frequency range doesn’t overpower the others.
- Avoid distortion: Too much gain can lead to distorted sound. Start at lower gain settings and gradually increase to avoid damaging your speakers.

Step 5: Test and Listen
After configuring the crossover points and adjusting gain, it’s time to test your system. Play a range of music that covers low, mid, and high frequencies, and listen closely for balance.
- Check for distortion: If certain frequencies sound muffled or distorted, you may need to fine-tune your crossover points.
- Adjust for personal taste: Some listeners prefer more bass-heavy sound, while others want crisper highs. Use the crossover settings to tailor the sound to your preference.
Step 6: Monitor and Adjust Over Time
As you use your audio system, monitor its performance and adjust as necessary. Room acoustics, speaker placement, and even personal preference can change how your system sounds over time. Don’t hesitate to revisit your crossover settings if you notice any shifts in sound quality.

Additional Tips for Optimal Crossover Performance
- Use Quality Speaker Wire: Ensure you’re using the appropriate wire gauge for your system. Thicker wire (like 10 GA or 12 GA) is generally better for longer runs or high-powered setups.
- Speaker Placement: Pay attention to where you place your speakers. The position can greatly impact how sound waves interact in the room, affecting your overall sound quality.
- Room Treatment: Consider acoustic treatments if your room has significant echo or sound absorption issues. This can improve sound clarity and balance further.
Conclusion
Setting up and adjusting your speaker crossovers can dramatically improve your audio experience. By understanding the components of your system and carefully configuring your crossovers, you can achieve clear, balanced sound that brings your favorite music and movies to life. As you experiment with settings and make adjustments over time, whether you’re dealing with car audio setup, professional sound setups, or home theater setup, you’ll become more attuned to what works best for your unique setup. In this way, you’ll get the most out of your audio system, transforming your listening experience into something extraordinary.


