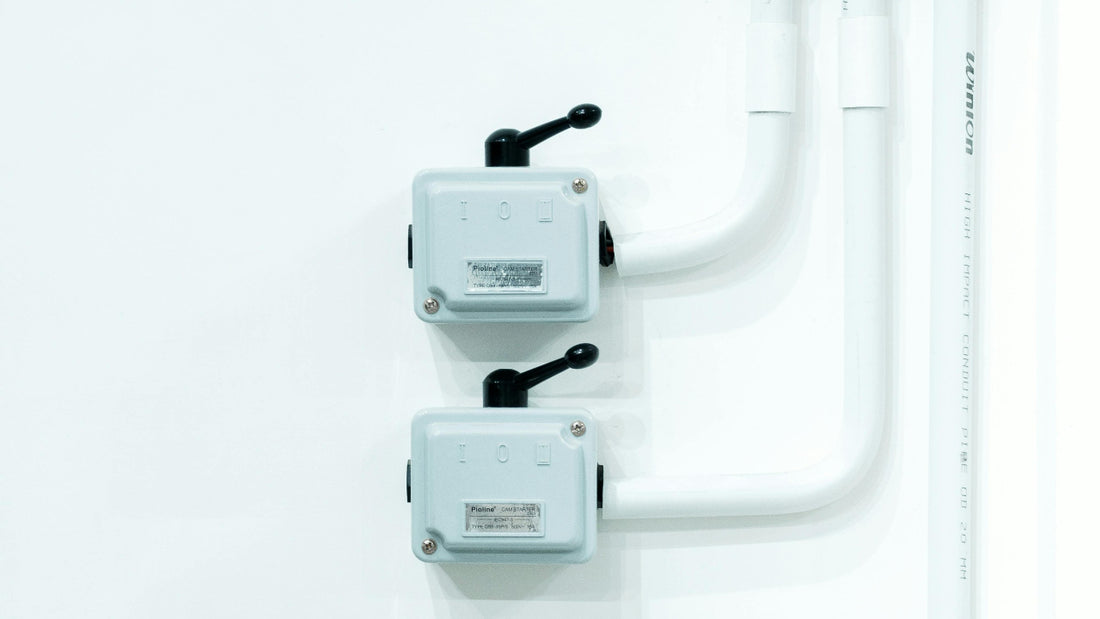
How to Safely Replace a Circuit Breaker
Share
Introduction
Circuit breakers are essential components of your home's electrical system. They protect your electrical circuits from damage caused by overloads or short circuits by automatically cutting off the power. Over time, breakers can wear out and may need to be replaced to ensure continued safety and functionality. Replacing a circuit breaker can seem daunting, but with the right tools and knowledge, it can be done safely and efficiently. This guide will walk you through the steps to safely replace a circuit breaker.
Tools and Materials Needed
Before starting, gather the following tools and materials:
- Voltage tester
- Screwdrivers (flat-head and Phillips)
- Pliers
- New circuit breaker (ensure it matches the specifications of the old one)
- Insulated gloves
- Safety glasses

Safety Precautions
- Turn Off the Main Power: The first and most crucial step is to turn off the main power to your electrical panel. This will ensure that you are not working with live wires.
- Use a Voltage Tester: Even after turning off the main power, use a voltage tester to check that there is no power flowing to the circuit breaker panel. This double-check helps prevent any accidental shocks.
- Wear Protective Gear: Wear insulated gloves and safety glasses to protect yourself from electrical shocks and debris.

Steps to Replace a Circuit Breaker
1. Turn Off the Main Power
Locate the main power switch in your electrical panel and turn it off. This step is essential to ensure your safety while working on the panel.
2. Remove the Panel Cover
Use a screwdriver to remove the screws holding the panel cover in place. Carefully remove the cover and set it aside. Be cautious as the edges of the panel cover can be sharp.
3. Identify the Faulty Breaker
Identify the breaker that needs to be replaced. It's usually easy to spot if it's tripped and won't reset or if it shows signs of damage.
4. Test for Power
Use a voltage tester to ensure that there is no electricity running to the breaker you are about to replace. This step is crucial for your safety.
5. Remove the Old Breaker
Gently pull the faulty breaker out of its slot. Some breakers may require a bit of wiggling to free them from the panel. Once removed, disconnect the wire attached to the breaker.
6. Check and Prepare the Wiring
Inspect the wiring connected to the old breaker for any signs of wear, damage, or improper connections. Proper wiring is essential for the safety and efficiency of your electrical system. If any wires appear damaged or corroded, they should be replaced or repaired before connecting to the new breaker. Use appropriate connectors to ensure a safe and reliable connection.
Wire Gauge Table
When working with electrical systems, using the correct wire gauge is crucial for safety and performance. Here's a handy table to help you choose the right wire gauge for your circuit.
| Wire Gauge (GA) | Rated Ampacity | Common Uses |
|---|---|---|
| 16 GA | 10 amps | Light fixtures, low-power devices |
| 14 GA | 15 amps | Lighting circuits |
| 12 GA | 20 amps | Outlets, small appliances |
| 10 GA | 30 amps | Air conditioners, water heaters |
Selecting the appropriate wire gauge is crucial for safety and efficiency. Depending on your specific electrical needs and the length of the wiring run, further adjustments might be required. Always refer to electrical codes and consult a professional if you're unsure.
7. Install the New Breaker
Attach the wire to the new breaker, ensuring a secure connection. Carefully insert the new breaker into the slot, making sure it snaps into place and is firmly seated.
8. Replace the Panel Cover
Once the new breaker is installed, replace the panel cover and secure it with screws. Ensure that all screws are tightened properly.
9. Turn On the Main Power
After ensuring everything is properly installed and secured, turn the main power back on. Test the new breaker by switching it on and off to ensure it functions correctly.

Final Checks
After replacing the circuit breaker, perform a few final checks:
- Check for Proper Functioning: Turn on the new breaker and check if the circuits it controls are receiving power correctly.
- Monitor the Circuit: Over the next few days, monitor the circuit to ensure there are no further issues or tripping.

When to Call a Professional
While replacing a circuit breaker is manageable for many DIY enthusiasts, there are times when it’s best to call a professional electrician:
- If you are unsure about any step of the process.
- If the breaker continues to trip after replacement.
- If you notice any signs of damage to the electrical panel or wiring.

Conclusion
Replacing a circuit breaker is a task that can be done safely with the right tools and precautions. By following this guide and ensuring proper wiring, you can maintain the safety and functionality of your home’s electrical system. Always prioritize safety, and don't hesitate to consult a professional if you encounter any difficulties or uncertainties during the process.


