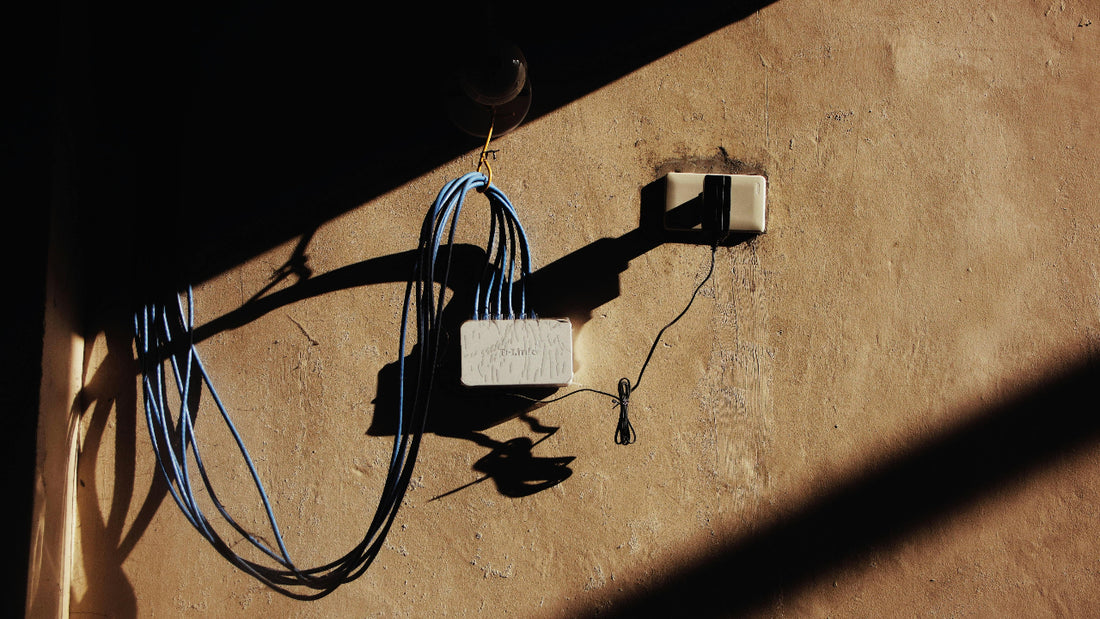
How to Safely Extend Electrical Circuits in Your Home
Share
Introduction
Extending electrical system in your home can be necessary for various reasons, such as adding new outlets, lighting fixtures, or appliances. However, this task requires careful planning and adherence to safety protocols to avoid electrical hazards. This blog will guide you through the steps to safely extend electrical circuits, from planning and preparation to execution and final checks.
1. Planning Your Electrical Circuit Extension
Assessing Your Needs
The first step is to identify why you need to extend the circuit. This could be for a new outlet, additional lighting, or the installation of an appliance. Once you know your purpose, determine the power requirements of the new additions to ensure the existing circuit can handle the load.
Understanding Electrical Codes and Permits
Research electrical codes to ensure your project complies with safety standards. Determine if a permit is required for your project and obtain it if necessary.
Creating a Circuit Map
Sketch a diagram of your current electrical circuit, including the new additions. Identify the power source and the path the new wiring will take.

2. Preparing for the Extension
Gathering Tools and Materials
You will need various tools such as a voltage tester, wire cutters, wire strippers, screwdrivers, pliers, a drill, and fish tape. Essential materials include electrical wire (of the appropriate gauge), electrical boxes, wire nuts, electrical tape, junction boxes, outlet covers, and screws.
Wire Gauge Selection
Selecting the appropriate wire gauge is crucial for safety and efficiency. The wire gauge you need depends on the electrical load of the circuit and the distance the wire will run. Refer to the table below to make the right choice, and keep in mind that further adjustments might be needed based on specific circumstances.
Table: Common Wire Gauge Sizes and Their Uses
| Gauge Size | Max Current (Amps) | Common Uses |
|---|---|---|
| 10 GA | 30 | Large appliances, water heaters |
| 12 GA | 20 | Kitchen outlets, small appliances |
| 14 GA | 15 | Lighting circuits, outlets |
| 16 GA | 10 | Light fixtures, low-power devices |
| 18 GA | 5 | Doorbells, thermostats |
| 20 GA | 3 | Signal wires, low-current devices |
| 22 GA | 1 | Low-voltage lighting, data cables |
Turning Off the Power
Locate the main breaker panel and switch off the power to the circuit you will be working on. Use a voltage tester to ensure the power is off at the outlet or fixture you are working on.
Planning the Wire Route
Plan the path for the new wiring, avoiding obstacles like plumbing and HVAC systems. Measure the length of wire needed, allowing extra for connections and any unexpected obstacles.

3. Extending the Circuit
Installing Electrical Boxes
Choose locations for new electrical boxes and mark their positions on the walls. Cut openings for the boxes using a drywall saw and install the boxes securely in the wall, ensuring they are flush with the wall surface.
Running New Wires
Drill holes in studs and joists as necessary to run the new wire. Use fish tape to pull the wire through walls and ceilings, following the planned route. Secure the wire to the studs and joists using wire staples, avoiding tight bends and sharp edges.
Making Connections
Strip the ends of the wires, exposing about 3/4 inch of bare wire. Connect the new wires to the existing circuit using wire nuts, ensuring a secure and tight connection. Attach the wires to the new outlets or fixtures, following the manufacturer's instructions.

4. Testing and Inspecting the Extension
Checking Your Work
Double-check all connections to ensure they are secure and properly insulated. Use a voltage tester to verify that there are no live wires before turning the power back on.
Powering Up and Testing
Turn the power back on at the main breaker panel. Test the new outlets or fixtures with a voltage tester or by plugging in a device to ensure they are working correctly.
Inspecting for Safety
Inspect the new wiring for any signs of overheating or loose connections. Ensure all electrical boxes are covered with appropriate covers and securely fastened.

5. Final Steps and Safety Tips
Labeling the Circuit
Label the new additions on your circuit breaker panel for easy identification in the future. Keep a copy of your updated circuit map for reference.
Regular Maintenance
Periodically inspect the new wiring for any signs of wear or damage. Address any issues immediately to prevent electrical hazards.
Hiring a Professional
If you are unsure about any step of the process or encounter unexpected issues, consider hiring a licensed electrician. Professional assistance ensures that the work is done safely and in compliance with local electrical codes.

Conclusion
Extending electrical circuits in your home can be a manageable DIY project if you follow the proper safety protocols and plan carefully. By assessing your needs, understanding electrical codes, preparing adequately, and performing thorough testing and inspection, you can safely and efficiently extend your electrical circuits. Always prioritize safety, and don't hesitate to seek professional help when needed to ensure the best results for your home electrical projects.


