How to Properly Ground a Trailer Wiring System
Introduction
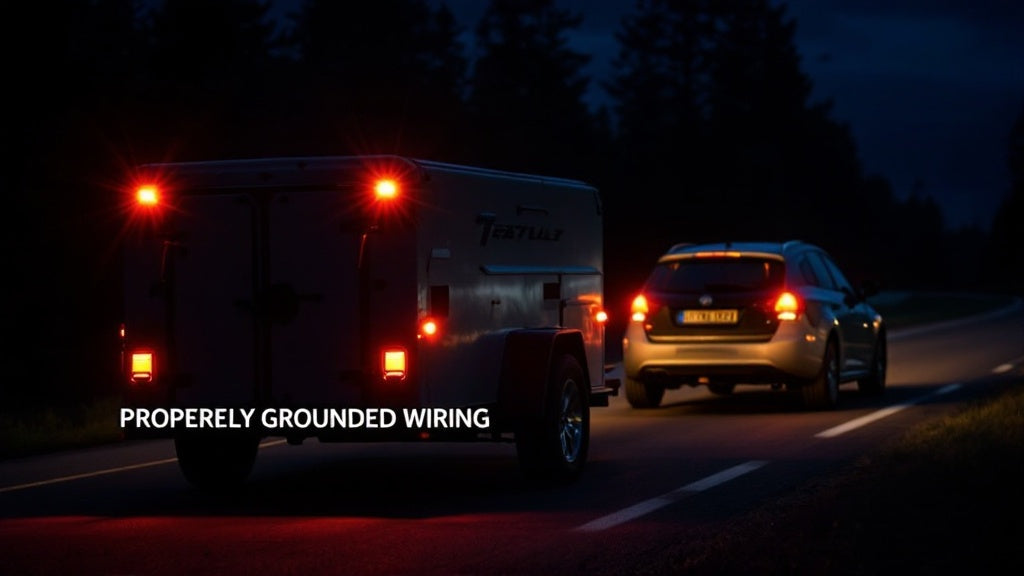
A properly grounded trailer wiring system is crucial for ensuring safe and reliable electrical connections. Poor grounding can lead to dim or flickering lights, malfunctioning brakes, and even electrical shorts that may cause serious damage. Understanding how to correctly ground your trailer wiring will help you avoid these issues while keeping your trailer fully operational.
This guide will walk you through why grounding is important, common grounding mistakes, and a step-by-step process to ensure a proper ground connection for your trailer wiring system.
Why Proper Grounding Matters
Grounding your trailer’s electrical system provides a return path for current to flow, ensuring that lights, brakes, and other electrical components function correctly. Here’s why proper grounding is essential:
- Prevents Flickering or Dim Lights – Poor grounding can cause inconsistent lighting.
- Ensures Safe Brake Operation – Trailer brakes rely on a good electrical connection to function properly.
- Reduces the Risk of Shorts and Electrical Fires – A proper ground prevents excessive current buildup that could lead to overheating.
- Enhances Overall Electrical Efficiency – Good grounding ensures the entire system operates with minimal resistance and power loss.

Signs of a Poor Ground Connection
A faulty ground connection can lead to a variety of electrical issues. Here are some common signs to watch for:
- Trailer lights flicker, dim, or don’t work at all.
- Brakes don’t engage properly or feel weak.
- Blown fuses or circuit breakers in the towing vehicle.
- A “clicking” noise in the electrical system when lights or accessories are turned on.
- Corrosion or rust around the grounding points.
If you notice any of these issues, your trailer’s grounding may need attention.
What You’ll Need
Before starting, gather the following materials:
- Grounding wire - preferably 10 gauge -12 gauge for main grounding and 14 gauge -16 gauge for lights
- Wire brush or sandpaper - for cleaning grounding surfaces
- Self-tapping screws or bolts - to secure the ground wire
- Dielectric grease - to protect against corrosion
- Multimeter - to test continuity and ensure a good ground
- Ring terminals and connectors
- Heat shrink tubing or electrical tape - for secure connections

Step-by-Step Guide to Properly Grounding Your Trailer Wiring System
Step 1: Identify the Main Grounding Point
Your trailer should have a designated grounding point, typically near the tongue where the wiring harness connects to the towing vehicle. This point is usually attached to the trailer frame using a bolt or self-tapping screw.
Step 2: Clean the Grounding Surface
Using a wire brush or sandpaper, clean the area around the grounding point to remove paint, rust, or dirt. A clean, bare metal surface ensures a strong electrical connection.
Step 3: Attach the Main Ground Wire
- Strip the end of the grounding wire and attach a ring terminal.
- Secure the ring terminal to the cleaned grounding point using a bolt or self-tapping screw.
- Apply dielectric grease to prevent future corrosion.
- Tighten the connection to ensure it’s secure and won’t loosen over time.
Step 4: Ground the Trailer Lights and Accessories
Each trailer light and accessory should have its own grounding wire attached to the trailer frame. Here’s how to do it correctly:
- Run a separate ground wire from each light or accessory to the frame.
- Secure the ground wire using ring terminals and self-tapping screws.
- Ensure each ground connection is attached to a clean, rust-free metal surface.
- Apply dielectric grease to protect against corrosion.
Step 5: Verify the Towing Vehicle’s Ground Connection
The trailer’s ground must be connected to the towing vehicle’s ground system. Locate the white ground wire in the trailer plug and ensure it is properly attached to the tow vehicle’s frame or battery ground.
Step 6: Test the Grounding System
- Use a multimeter to test for continuity between the grounding point and various trailer components.
- Check the voltage at different points in the system to ensure stable power delivery.
- If lights or brakes still malfunction, recheck all grounding points and clean them as needed.

Tips for Maintaining a Good Ground Connection
To keep your trailer’s electrical system in top condition, follow these maintenance tips:
- Regularly inspect grounding points for rust, corrosion, or loose connections.
- Reapply dielectric grease periodically to prevent moisture damage.
- Ensure ground wires are secure and not exposed to potential damage.
- Check trailer plug connections and clean the pins to maintain a solid electrical link.
- Avoid grounding to painted or coated surfaces—always connect to bare metal for the best conductivity.
Common Grounding Mistakes to Avoid
- Using a weak or loose connection – A poor ground can cause intermittent failures.
- Not cleaning the metal surface – Paint, rust, or dirt can prevent a proper ground.
- Grounding to a moving part – Ensure all ground wires are attached to solid, non-moving metal surfaces.
- Failing to connect the ground wire to the towing vehicle – The tow vehicle must provide a continuous ground connection.
- Overlooking ground wire size – Use at least 10 gauge - 12 gauge wire for the main ground to handle sufficient current.

Conclusion
Properly grounding your trailer wiring system is essential for maintaining a safe and functional electrical setup. By ensuring a clean, secure ground connection, you can prevent electrical failures, improve lighting and braking performance, and extend the lifespan of your trailer’s electrical components.
By following this guide and using the right techniques, you’ll have a reliable grounding system that ensures smooth operation every time you tow. Have you encountered grounding issues before? Share your experiences and tips in the comments below!