How to Install and Wire a Backup Generator System
Share
Introduction
Installing a backup generator system is an excellent way to ensure your home remains powered during outages. Proper installation and wiring are critical to the generator's performance and safety. This guide will provide you with step-by-step instructions on how to install and wire a backup generator system efficiently and safely.
1. Planning Your Backup Generator System
Assessing Your Power Needs
First, identify the essential appliances and systems that need power during an outage and calculate the total wattage required to run these appliances simultaneously. Choose a generator with sufficient capacity to handle your calculated load.
Choosing the Right Generator
Select between a portable or standby generator based on your power needs and budget. Ensure the generator is compatible with your home’s electrical system and consider features like automatic start, fuel type, and noise levels.
Obtaining Permits and Compliance
Check local building codes and regulations for generator installation and obtain necessary permits from local authorities. Ensure the installation complies with National Electrical Code (NEC) standards.

2. Preparing for Installation
Selecting an Installation Site
Choose a well-ventilated outdoor area for the generator to prevent carbon monoxide buildup. Ensure the site is level, stable, and away from windows, doors, and vents. Maintain a minimum clearance around the generator as specified by the manufacturer.
Gathering Necessary Tools and Materials
Gather all necessary tools and materials for installation, including the generator, transfer switch, conduit, wire, connectors, and appropriate tools such as screwdrivers, wrenches, wire cutters, a drill, and a level. Prepare a concrete pad or generator stand for mounting.

3. Installing the Backup Generator
Mounting the Generator
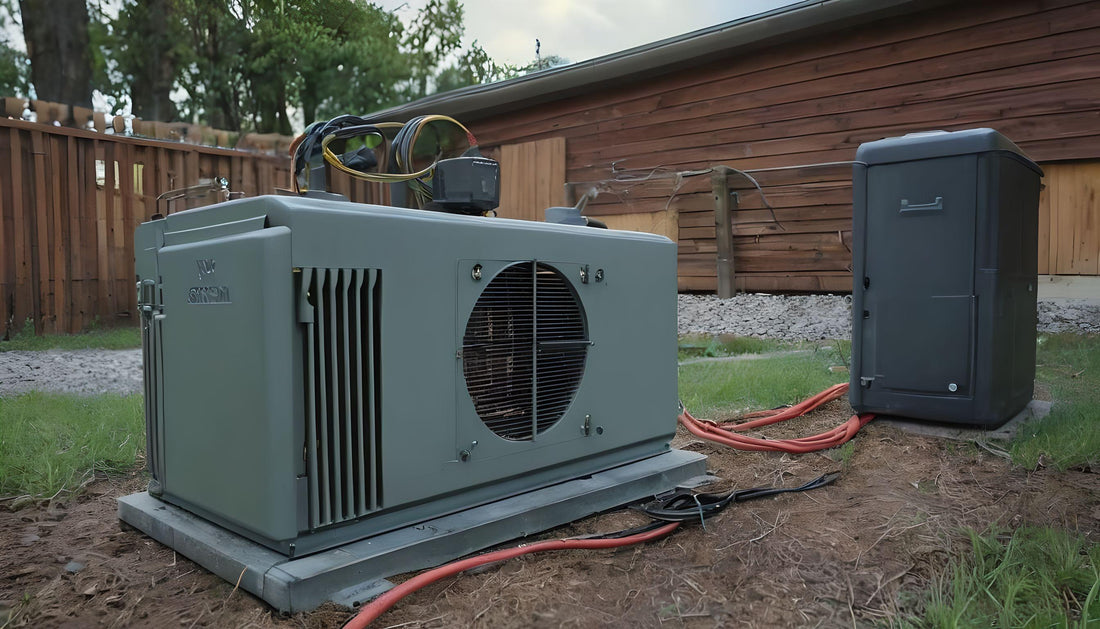
Prepare a concrete pad or use a pre-fabricated generator stand, then place the generator on the pad or stand and secure it according to the manufacturer’s instructions. Ensure the generator is level to prevent operational issues.
Installing the Transfer Switch
Mount the transfer switch near the main electrical panel. Follow the manufacturer’s instructions for connecting the transfer switch to the main panel, allowing seamless switching between utility power and generator power.

4. Wiring the Backup Generator System
Selecting the Right Wire Gauge
Selecting the appropriate wire gauge is crucial for ensuring the safe and efficient operation of your backup generator system. This table provides guidance on choosing the right wire gauge based on current requirements, application type, and distance, helping to prevent issues such as voltage drop and overheating.
| Application | Current (Amps) | Recommended Wire Gauge (GA) | Maximum Distance (Feet) | Notes |
|---|---|---|---|---|
| Low-Voltage Lighting | Up to 0.5 A | 20 GA or 22 GA | Up to 50 | Ideal for short runs; use thicker wire for longer distances. |
| Medium-Power Devices | Up to 1.5 A | 18 GA | Up to 75 | Suitable for moderate distances and power requirements. |
| High-Power Devices | Up to 3.0 A | 16 GA | Up to 100 | Use for longer distances or higher current needs. |
| Heavy-Duty Appliances | Up to 5.0 A | 14 GA | Up to 150 | For high-current applications and long runs. |
| High-Current Applications | Above 5.0 A | 12 GA or 10 GA | Up to 200 | Use for very high current and long distances. |
Notes:
- Current Rating: Select a wire gauge that can safely handle the current without excessive heat buildup.
- Distance: Longer runs may require a thicker gauge to reduce voltage drop.
- Application Specifics: Adjust wire gauge based on the specific needs of your application and environment.
Running Conduit and Wires
Run conduit from the generator to the transfer switch to protect the wiring. Pull the wires through the conduit, ensuring no sharp bends that could damage the wires. Secure the conduit and wires with appropriate fittings and fasteners.
Making Electrical Connections
Connect the generator’s output to the transfer switch following the manufacturer’s wiring diagram. Connect the transfer switch to the main electrical panel, ensuring all connections are tight and secure. Ground the generator according to local codes and the manufacturer’s instructions.

5. Testing and Maintaining Your Generator System
Initial Testing
After installation, perform an initial test to ensure everything is working correctly. Start the generator and switch the transfer switch to the generator position. Check that all connected appliances are receiving power.
Regular Maintenance
Schedule regular maintenance as per the manufacturer’s recommendations. Check oil levels, fuel lines, and battery condition regularly. Run the generator periodically to ensure it remains in good working condition.
Safety Checks
Install carbon monoxide detectors in your home to detect any potential leaks. Ensure the generator is inspected annually by a qualified technician. Keep the area around the generator clear of debris and flammable materials.

Conclusion
Installing and wiring a backup generator system requires careful planning and attention to detail to ensure safety and reliability. By following these steps, you can provide your home with a dependable source of power during outages. Regular testing and maintenance will keep your generator in optimal condition, ready to provide power when you need it most.


