How to Cut Speaker Wire: Tips and Tricks for Clean Cuts
Share
Introduction
When it comes to setting up your audio system, ensuring your speaker wires are properly cut is crucial for achieving the best sound quality and reliable connections. Whether you're a DIY enthusiast or a professional installer, mastering the technique of cutting speaker wire can save you time and frustration. In this guide, we'll walk you through the essential steps and share some valuable tips and tricks for achieving clean cuts every time.

Why Properly Cutting Speaker Wire Matters
Ensuring Optimal Sound Quality
Properly cut speaker wires are essential for maintaining the integrity of your audio signal. Clean cuts ensure a secure connection, minimizing the risk of signal loss and preserving the audio quality.
Preventing Equipment Damage
Improperly cut wires can lead to shorts, which can damage your speakers, amplifier, or other audio equipment. Ensuring clean cuts helps prevent these issues and extends the lifespan of your gear.
Aesthetic and Safety Considerations
Neatly cut and organized wires not only look better but also reduce the risk of accidents and tangling. This is especially important in professional installations and home setups with multiple components.

Tools You’ll Need
To get started, you'll need the right tools. Here’s a list of what you should have on hand:
- Wire Cutters: Ensure they are sharp and specifically designed for cutting speaker wire.
- Wire Strippers: These will help you remove the insulation without damaging the wire.
- Ruler or Measuring Tape: To measure the length of wire you need.
- Marker: For marking where to cut.
- Heat Shrink Tubing (Optional): For added protection and a professional finish.
- Soldering Iron and Solder (Optional): For creating solid connections, especially in professional setups.

Preparing Your Work Area
Choosing the Right Workspace
Select a well-lit area with enough space to comfortably lay out your tools and wire. A clutter-free workspace helps you focus and reduces the risk of mistakes.
Organizing Your Tools
Keep all necessary tools within reach to streamline the process. Consider using a small tray or organizer to keep smaller items like connectors and heat shrink tubing in order.
Step-by-Step Guide to Cutting Speaker Wire
Step 1: Measure and Mark the Wire
1. Measure the Length- Use your ruler or measuring tape to measure the length of wire you need. Add a little extra length to account for any adjustments.
- Mark the spot where you'll cut with your marker. Ensure the marks are clear and visible.
- Before cutting, double-check your measurements to ensure accuracy. It's better to measure twice than to cut incorrectly and waste wire.
Step 2: Cut the Wire
1. Position the Wire Cutters
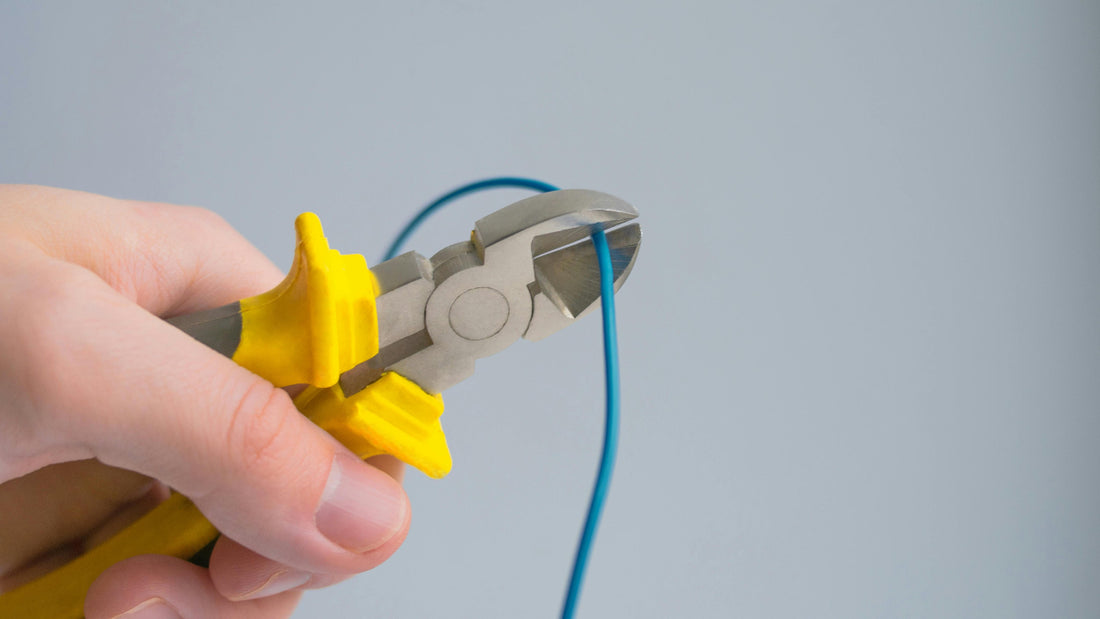
- Hold the wire cutters at a 90-degree angle to the wire at the marked spot. This ensures a straight, clean cut.
- Squeeze the handles firmly to make a clean cut. Ensure the cut is straight and even.
2. Inspect the Cut
- Check the cut ends to ensure they are clean and free of any frayed strands. If necessary, trim any uneven edges.
Step 3: Strip the Insulation
1. Select the Appropriate Notch
- Using the wire strippers, select the notch that matches the gauge of your speaker wire. This will help you remove the insulation without damaging the wire.
- Insert the wire into the notch and gently close the strippers around the insulation.
2. Remove the Insulation
- Carefully pull the wire strippers towards the end of the wire to remove about ½ inch of insulation. Be careful not to nick the wire itself, as this can weaken the connection.
Step 4: Twist the Strands
1. Twist Stranded Wire
- If you're working with stranded wire, gently twist the strands together to keep them neat and prevent fraying. This helps ensure a secure connection when attaching connectors.
2. Apply Heat Shrink Tubing (Optional)
- Slide a piece of heat shrink tubing over the wire before attaching connectors. Once the connectors are in place, use a heat gun to shrink the tubing, providing additional insulation and a professional finish.
Step 5: Attach Connectors (Optional)
1. Choose the Right Connectors
- Select connectors that are appropriate for your setup, such as banana plugs, spade connectors, or bare wire connectors.
2. Attach the Connectors
- Follow the manufacturer's instructions for attaching the connectors to the wire. This may involve soldering or securing with screws or clamps.

Tips and Tricks for Clean Cuts
Use Sharp Tools
Dull cutters can crush the wire rather than slicing through it cleanly, leading to uneven cuts. Regularly sharpen or replace your tools to maintain their effectiveness.
Practice Makes Perfect
If you're new to this, practice on some spare wire to get a feel for the tools and techniques. This will help you develop confidence and improve your skills.
Work in Good Lighting
Good visibility helps ensure you make precise cuts and avoid mistakes. A well-lit workspace is essential for accuracy.
Keep the Wire Steady
Hold the wire firmly while cutting to prevent it from moving and causing an uneven cut. Use a vise or clamps if necessary to keep the wire in place.
Invest in Quality Tools
High-quality wire cutters and strippers will make the job easier and produce better results. Consider investing in professional-grade tools for long-term use.

Common Mistakes and How to Avoid Them
Cutting the Wire Too Short
Always measure twice and cut once. It's better to have a little extra wire than to cut it too short and have to start over.
Damaging the Wire While Stripping
Select the correct notch on your wire strippers and be gentle when removing the insulation. Avoid twisting or pulling too hard, which can damage the wire.
Using Inappropriate Tools
Using tools not designed for cutting or stripping wire can result in poor cuts and damage to the wire. Always use the appropriate tools for the job.
Ignoring Safety Precautions
Wear safety glasses to protect your eyes from flying debris, and work in a well-ventilated area if using solder or heat shrink tubing.

Conclusion
Cutting speaker wire might seem like a small task, but it plays a vital role in the overall performance of your audio system. By following these steps and tips, you can ensure your speaker wires are cut cleanly and correctly, leading to better sound quality and more reliable connections. Whether you're setting up a home theater, a car audio system, or a professional sound installation, taking the time to properly cut and prepare your speaker wires will pay off in the long run. Happy listening!

