A Step-by-Step Guide to Installing a Car Amplifier
Introduction
Installing a car amplifier is one of the best upgrades you can make to boost your audio experience on the road. An amplifier provides the power needed to drive your speakers to their full potential, creating louder and clearer sound. While the process may seem daunting at first, with the right tools and guidance, you can install a car amplifier yourself. In this guide, we’ll walk through each step to help you successfully install your new amplifier, including tips on selecting the right speaker wire gauge for optimal performance.

1. Gather Your Tools and Equipment
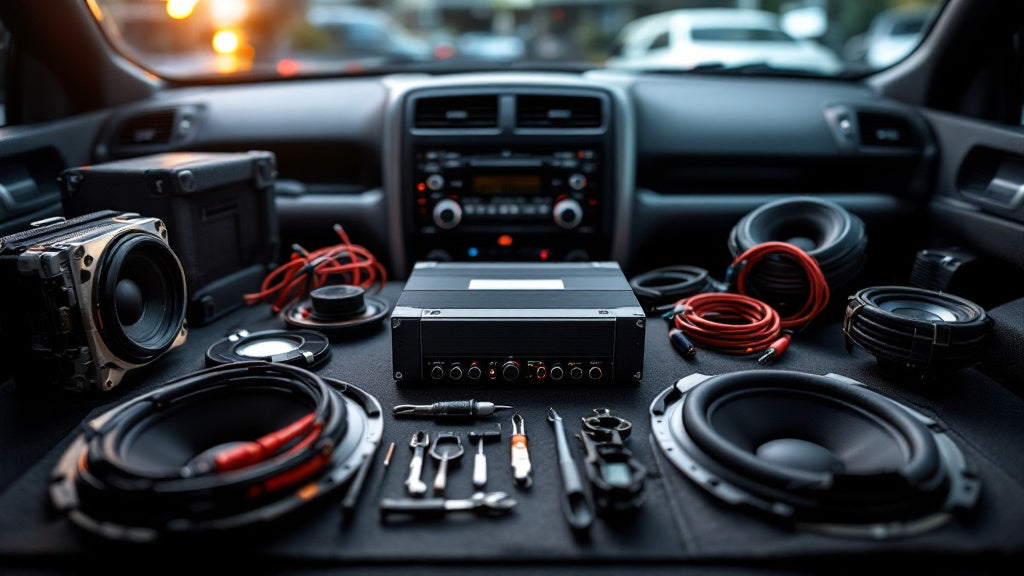
Before starting, make sure you have all the tools and components necessary for a smooth installation. Here’s what you’ll need:
- Amplifier Wiring Kit: Look for a kit that includes power cables, ground wires, a fuse holder, RCA cables, and speaker wire.
- Power Wire: Choose a thick enough gauge to handle the power demand of your amp. Common choices are 4GA or 8GA, but for higher-powered amplifiers, consider a 2GA wire.
- Fuse Holder and Fuse: This protects your system from power surges. Place the fuse holder near the car battery, and use a fuse that matches your amplifier’s rating.
- Wire Crimpers and Strippers: For cutting and connecting wires.
- Scissors or Wire Cutter: For cutting the speaker wire to your preferred length.
- Screwdrivers and Wrenches: Basic tools for securing connections and mounting.
Once you have your equipment ready, review your amplifier’s manual for specific details about wiring and fuse requirements.
2. Plan the Amplifier’s Placement
Decide where to mount your amplifier. Common locations include under the passenger seat, in the trunk, or along the rear seats. Choose a spot that’s dry, secure, and allows for adequate ventilation to prevent overheating. Once you’ve picked a location, check if it has enough room for both the amplifier and the wiring connections.

3. Disconnect the Car Battery
To ensure safety, disconnect the negative (black) terminal of the car battery before starting any work on your car’s electrical system. This prevents accidental shorts, sparks, or electrical shocks during the installation.
4. Run the Power Cable from the Battery
- Connect the Fuse Holder: Attach the fuse holder to the power cable and place it within 18 inches of the battery. This will protect the system in case of an electrical issue. Leave the fuse out for now, as you’ll install it after completing all connections.
- Drill Through the Firewall: Run the power cable through the car’s firewall. Most cars have a rubber grommet you can use to pass the cable through. If not, drill a small hole (only if absolutely necessary) and fit it with a grommet to protect the cable.
- Route the Power Cable to the Amplifier Location: Avoid placing the power cable near any signal cables (like RCA cables) to minimize interference. Tuck the cable under the car’s trim panels for a clean look and secure it to prevent it from shifting.

5. Ground the Amplifier
A solid ground connection is essential for the amplifier to function correctly. Here’s how to do it:
- Choose a Nearby Grounding Point: Select a metal point close to where the amplifier will be installed, preferably a part of the car’s frame or metal body.
- Remove Paint or Coating: Use sandpaper to remove any paint or coating at the grounding point to ensure a direct metal-to-metal connection.
- Attach the Ground Wire: Secure the ground wire from the amplifier to this point using a screw or bolt. The ground wire should be as short as possible to minimize resistance, ideally under 18 inches in length.
6. Connect the RCA and Remote Turn-On Wires
The RCA cables carry audio signals from the head unit to the amplifier. The remote turn-on wire tells the amplifier to turn on when the head unit is powered on.
- Connect RCA Cables: Plug the RCA cables into the output jacks on the head unit and run them to the amplifier’s input jacks. Keep the RCA cables away from the power cable to reduce interference.
- Attach the Remote Turn-On Wire: Connect one end of the remote wire to the amplifier’s remote terminal and the other to the head unit’s remote output. This wire signals the amplifier to power on when the head unit is on.

7. Connect the Amplifier to the Speakers
- Identify Your Speaker Wires: If your amplifier will power aftermarket speakers, you’ll need to run new speaker wires from the amplifier to each speaker.
- Select the Appropriate Speaker Wire Gauge: Choosing the right wire gauge for speaker wire is essential for a powerful, clean sound. For high-power systems or long runs (over 50 feet), 10GA wire or 12GA wire is ideal as it minimizes resistance. If you’re working with moderate distances, 14GA wire offers a great balance for most car audio systems, while 16GA wire works well for shorter runs or compact setups.
- Connect Speaker Wires to the Amplifier: Connect the speaker wires from the amplifier to each respective speaker terminal, following the color-coding to match positive and negative terminals.
- Wire for a Subwoofer (Optional): If the amplifier will power a subwoofer, connect the speaker wire from the amplifier’s subwoofer output to the subwoofer’s terminals, ensuring you have a solid connection.
8. Test Your Connections and Power Up
With all the wiring in place, it’s time to double-check everything:
- Inspect Connections: Verify that each wire is securely connected and that there are no frayed or exposed wires. Tighten any loose connections, and confirm the ground wire is secure.
- Insert the Fuse: Place the fuse into the fuse holder near the battery.
- Reconnect the Battery: Attach the negative terminal of the battery back to the car.
- Power On and Test: Turn on your car and head unit, and check if the amplifier powers up. Play some music and adjust the settings to ensure the amplifier is working properly. Listen carefully for any distortion or issues.

Conclusion
Installing a car amplifier can transform your audio experience by enhancing sound clarity, volume, and bass response. With careful planning, the right tools, and attention to detail, you can successfully install an amplifier in your car and enjoy the impressive sound quality it offers. Follow this guide to set up a robust car audio system, elevating your drive with exceptional sound quality!