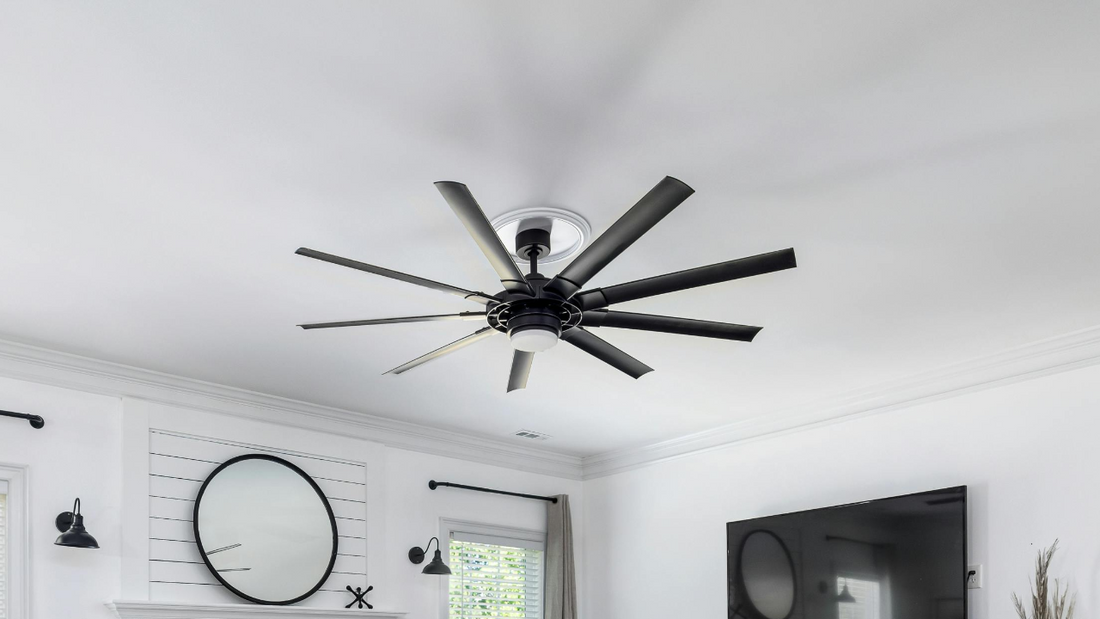
A Step-by-Step Guide to Installing Ceiling Fans with Lights
Share
Introduction
Ceiling fans with integrated lights are a popular choice for enhancing both air circulation and lighting in a room. Proper installation and wiring are essential to ensure safety, energy efficiency, and long-term performance. This guide will walk you through the step-by-step process of installing and wiring a ceiling fan with lights, including how to select the appropriate wire gauge for your specific setup.

Steps to Install and Wire a Ceiling Fan with Lights
1. Gather Tools and Materials
Before you begin, ensure you have all the necessary tools and materials, including a ceiling fan with a light kit, screwdrivers, wire cutters/strippers, a voltage tester, wire nuts, electrical tape, a ladder, and a circuit tester.
2. Turn Off Power at the Circuit Breaker
For your safety, always turn off the power at the circuit breaker before beginning any electrical work. Use a circuit tester to confirm that the power is off.
3. Remove the Existing Fixture
If there’s an existing light fixture, carefully remove it by unscrewing the mounting screws and disconnecting the wires. Take note of which wires are connected to the fixture.

4. Install the Ceiling Fan Mounting Bracket
Attach the mounting bracket for the ceiling fan to the electrical box, ensuring it is securely anchored to support the fan’s weight. Follow the manufacturer’s instructions for correct installation.
5. Choose the Right Wire Gauge
Selecting the correct wire gauge is critical for both safety and efficiency. Typically, a 14-gauge wire is used for most ceiling fan installations. However, for fans with high-power light kits or longer wiring runs, a 12-gauge wire might be necessary. Always refer to electrical codes and the manufacturer's guidelines to ensure compliance.
6. Assemble the Ceiling Fan
Follow the manufacturer’s instructions to assemble the ceiling fan, which usually involves attaching the blades, light kit, and any additional components.

7. Connect the Wiring
Connect the wires from the ceiling to the fan using the following color codes:
- Black/Red (Hot): Connects to the fan's power supply.
- White (Neutral): Connects to the fan's neutral wire.
- Green/Bare Copper (Ground): Connects to the grounding wire in the electrical box.
Ensure all connections are secure using wire nuts and wrap them with electrical tape for added safety.
8. Secure the Fan to the Ceiling
Lift the fan into place and secure it to the mounting bracket. Make sure all screws are tight, and the fan is firmly attached.
9. Install the Light Bulbs and Covers
If your ceiling fan includes a light kit, install the bulbs and attach the light covers. Ensure that everything is securely fastened.

10. Test the Ceiling Fan and Light
Restore power at the circuit breaker and test the ceiling fan and light to ensure they function correctly.
11. Final Adjustments
Make any necessary adjustments to balance the fan and ensure it operates without wobbling. Some fans come with balancing kits to help fine-tune the installation.

Conclusion
Installing and wiring a ceiling fan with lights is a manageable DIY project if you follow the correct steps and safety precautions, including selecting the right wire gauge. By following this guide, you can enhance your room’s comfort and lighting while ensuring the fan operates safely and efficiently. If any part of the process seems unclear or challenging, don’t hesitate to consult a licensed electrician. Proper installation is key to avoiding potential hazards and ensuring long-term performance.


